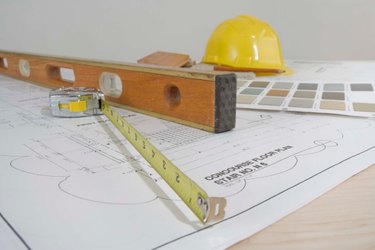
Bubble levels are used to square and level surfaces of furniture, homes, and large objects. Large 48-inch levels are the most common for home building. Smaller, 12- or 24-inch levels are used on cabinets or stairs or anywhere lines of any type need to stay consistent and work together. To use the level, you center a bubble between two marks in small, fluid-filled cylinders in the center of the level.
Horizontal Bubble Cylinders
Video of the Day
Step 1
Place the level on a surface that you know is level, such as a cabinet counter.
Video of the Day
Step 2
Insert a screwdriver under the edge the plastic cover over the bubble cylinder and use it to remove the cover. Grab the middle cylinder with your fingers and twist it slowly until the bubble centers between the two marks on the cylinder. If it won't center, pry up on one end of the bubble with the screwdriver until it does. Insert a toothpick under the cylinder to hold it in place and break off the end of the toothpick.
Step 3
Mix the epoxy. Squeeze out equal amounts of resin and hardener on a piece of paper. Swirl the resin and hardener around with a stick until they become a consistent color.
Step 4
Apply an amount of cement the size of a pencil eraser to both ends of the bubble cylinder. Use the stick to smear the cement all the way around both ends of the cylinder. Check the alignment of the bubble level again Let the cement dry for 24 hours. Put the plastic cover back on the bubble cylinder.
Vertical Bubble Cylinders
Step 1
Stand the level on one end. Insert a screwdriver under the edge of the plastic cover over the bubble cylinder and remove the cover.
Step 2
Grab the cylinder at the top and spin it around with your fingers until the bubble centers between the marks. Pry up on it with a screwdriver if you need to. Insert a toothpick under the end if needed to keep the bubble centered. Break off the toothpick.
Step 3
Squeeze out equal amounts of resin and hardener on a piece of paper. Swirl them around with a stick until they become a consistent color.
Step 4
Apply the cement to both ends of the cylinder with a stick. Check the alignment of the bubble cylinder again as the level is balanced on its end. Carefully place the level in a corner, still standing up, and let the glue dry for 24 hours. Replace the plastic cover on the bubble cylinder.