Things You'll Need
Pry bar
1-by-4 or 1-by-6 lumber for fascia
Tape measure
Miter saw
1/4-inch luan plywood
Table saw
Screen or cove molding trim
Staple gun
Painter's caulk
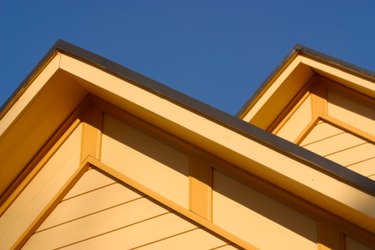
Soffit and fascia are the trim pieces that cover the underside and outside edge of your home's eaves. The soffit panel extends out from the top of the wall horizontally underneath the rafter tails. It ends with its outside edge against the back of the fascia. The fascia is the narrow horizontal board that runs directly below the edge of the roof line. Fascia is fastened to the ends of the rafter tails. These pieces keep excess moisture and pests from entering your attic space.
Removal
Step 1
Pry the fascia board from the ends of the rafter tails, using a pry bar. Start at one end and pry the board from each rafter tail as you work from front to back along the bottom edge of the roof. Measure the boards as you take them down to use their dimensions as a pattern. Fascia is typically made from 1-by-4 or 1-by-6 lumber cut to length. Mark each piece's position on it as you take it down (e.g., first, second, third).
Video of the Day
Step 2
Use the pry bar to remove any screen mold or other trim on the underside of the soffit. Look for thin strips of molding, called screen mold, between the panels. Look for cove molding along the outside edges of the panel, against the wall and behind the fascia's original position. Mark each piece, indicating where you removed it from.
Step 3
Pry the outside edge of the soffit panels downward, separating them from the underside of the rafter tails. Start at the front and work your way back to the opposite end of the eaves. Measure the width and length of each panel as it comes down. Mark the piece's position on it.
Cutting
Step 1
Cut fascia boards the same width, length and thickness as the original. Use the closest standard dimensional lumber if the measurements are odd. Cut the pieces to length on a miter saw for square 90 degree ends, which make cleaner joints.
Step 2
Use a table saw to cut soffit panels from 1/4-inch-thick luan plywood the same length and width as the originals.
Step 3
Measure the screen mold or other trim and cut pieces the same size to replace them as well. Take a piece of the old trim with you for comparison when selecting the new trim. Get it as close as possible to the original for a good fit. Cut pieces the same length and quantity as the original.
Reinstalling
Step 1
Fit the fascia boards into position along the rafter tails and nail in place with two 2-inch finish nails into the end of each rafter. Press the top edge of the fascia up against the bottom face of the roof decking along the edge. Position the first piece with its end flush with the outside face of the first rafter. Butt each following piece up to the one before, using the same length pieces as the original.
Step 2
Fit the soffit panel underneath the rafters, starting from the inside of the front gable. Staple them to the rafters with 1 1/4-inch crown staples, one every 6 inches into each rafter.
Step 3
Fit the screen mold or other trim pieces into position to cover the gaps between panels and along the edges if it was present in the original. Caulk along the edges of the trim and in all seams along the sides of the soffit with painter's caulk.
Video of the Day