Welding aluminum can be very frustrating because the metal oxidizes quickly in open air. Moreover, the oxidation contaminates the weld and may present a fire hazard in some situations. Aluminum is a very conductive metal as well, which can cause problems when welding at lower voltages because the heat generated by the weld is dispersed quickly and unevenly. When using a wire welder the problems of aluminum welding increase because aluminum wire is prone to crumple and bend. Proper preparation, therefore, is the key to successful aluminum welding when using a wire welder.
Step 1
Assemble your wire welder using a wire tip larger than the wire size you will be using. Recess the contact tip of your welder approximately 1/8-inch inside the nozzle of the welding tip. If your welder has a steel wire liner, remove it and replace it with a plastic or Teflon liner so that the aluminum wire won't bind up.
Video of the Day
Step 2
Place a spool of 1 mm aluminum wire on the welder and feed the wire into the wire liner. Continue feeding the wire through until it emerges from the wire tip.
Step 3
Connect a tank of pure argon gas to your wire welder as a shielding gas. The argon will help prevent fires and blowouts caused by existing oxidation and will prevent oxygen from reacting with the metal you are trying to weld.
Step 4
Clean the aluminum surfaces you are going to weld. Brush the metal with a steel-bristled brush designed for use on metal; be sure that you use a brush that has never been used on steel. Brush the metal in a single direction away from the seam you're working on to prevent oxidized aluminum from being distributed to the area you are welding.
Step 5
Connect a brass heat sink to the aluminum, placing it as close to the area you are welding as possible. The brass won't react with the aluminum, and the use of a heat sink will ensure that excess heat is removed evenly thereby reducing the chance of warping.
Step 6
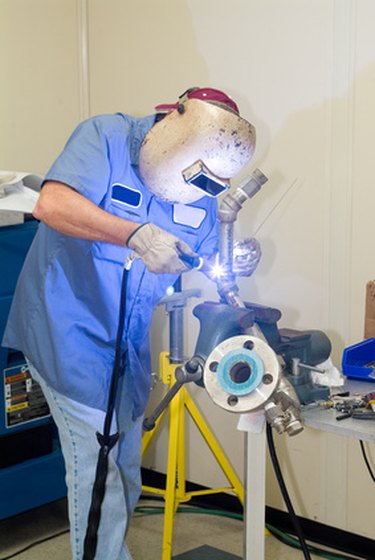
Attach the welder's electrical connection to the metal. Turn on the shielding gas flow and the welder. Create an arc with your metal. Turn the voltage and the wire feed speed up until the sound of the arc changes significantly and the sound is similar to an aerosol spray; this change in sound indicates that you have created a "spray arc" which works much better on aluminum than a standard arc.
Step 7
Begin welding your seam, allowing a pool of molten aluminum to form between the two pieces of metal you're welding. Tilt the nozzle 10 to 15 degrees away from the direction you're welding, allowing the arc to push the bead of molten metal so that your weld is slightly ahead of your nozzle at all times.
Step 8
Ensure that your welding tip is moving so that it keeps up with the feed of your wire and does not allow any portion of the metal to overheat. Since heat is distributed through aluminum quickly, you need to keep your weld moving forward so that the welds are finished rapidly before they have a chance to cool.
Step 9
Shut down your wire welder once you've finished your welds, disconnecting it from the metal and then disassembling and cleaning the welder.
Video of the Day