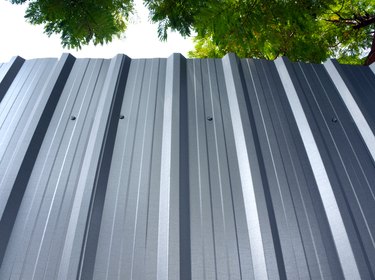
Highly durable and weather resistant, corrugated metal is a popular and versatile material often used for roofing or siding. You can find the panelling across the American landscape, and its sturdiness makes it particularly suitable for outbuildings, such as workshops, sheds and boathouses. When used for homes, corrugated metal siding can exude a charmingly rustic or industrial look. The wavy structure helps hide small imperfections and it's relatively easy to install. Proper framing, the correct use of fasteners, well-executed installation and the right trimming are quintessential to securing corrugated metal siding.
Video of the Day
Lay the Foundation
The substructure, or frame, to which the corrugated metal panels will be fastened should be properly spaced and adequately thick. Kiln-dried softwood, such as pine, hemlock or spruce, is recommended, as they're easier to fasten into without splitting and, unlike hardwoods, don't contain tannic acids that are harmful to metal panels. Non kiln-dried lumber may warp and shrink over time, causing waviness in the panels and looseness in the fasteners. An underlayment made of aluminum foil (although other materials are acceptable) should be placed over the wood for better insulation. The foil can be nailed or stapled before metal siding is applied.
Video of the Day
Installation Made Simple
First, make sure the surface on which you're going to install the metal siding is clean and free from irregularities. Remove old paint, caulking or nails on the wood. Fill in any spaces with wedges or putty. If the wood is old or weathered, you can use wood furring to secure the panels. Next, draw straight lines from top to bottom, so vertical siding does not appear unequal post-installation. After that, you're going to want to cut the steel according to your measurements. For safety reasons, it's best to invest in custom cut corrugated steel. If you cut the metal yourself, be sure to wear safety gloves and glasses. For horizontal siding, install the first piece of siding at the bottom. And for vertical siding, install the first piece of siding vertically, as reference for placing the other panels. Apply caulking to the joints to protect it from weathering. Finish off the installation by hammering in nails.
Fasten Your Siding
When using fasteners to secure your corrugated metal siding, use nails from the same metal (steel or aluminum) to avoid difficulties later on. Make sure the nails are driven securely into the metal sheets to avoid water leaks. Take care not to bend or twist the nails by excessive hammering.
The Trimming Trio
There are three types of trim, also referred to as "flashing": J-Channel, Sill trim and Window trim. J-Channel is installed on the sides where the top of the panel will sit and it looks like the letter "J" in profile. Sill trim holds the bottom of the panel and resembles the letter "L." Window trim is comprised of four parts and is held together by small trim nails.