Have recycled glass jars or burned out candles in decorative containers too pretty to throw out? Why not make lightly scented candles with coconut oil for your home or as housewarming gifts for friends! The fresh tropical scent is perfect for burning during summer months, but by adding a few drops of essential oil you can make the aroma your own!
Video of the Day
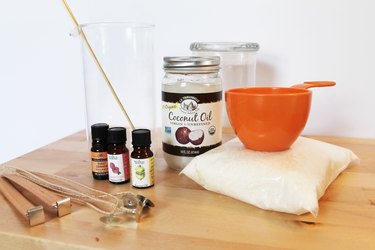
You can find a wide range of candle-making waxes online, but most craft supply stores carry wicks, dye and lidded jars you can use for this project. Unrefined Coconut Oil is typically located in the baking aisle of your local grocery store.
Video of the Day
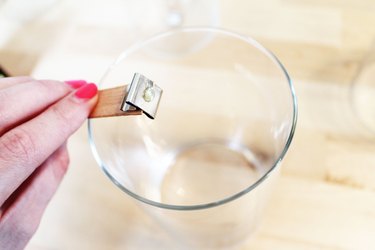
Step 1: Glue Wicks Into Jars
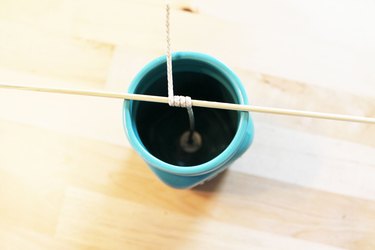
Secure wicks to the bottom center of your clean jars with a dot of hot glue.
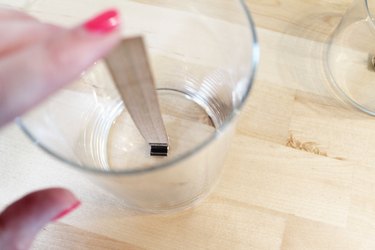
If using standard cord wicks, wrap the excess around a skewer or pencil to keep it taut while pouring wax.
Step 2: Measure Wax and Coconut Oil
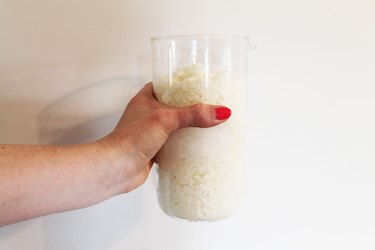
Measure a ratio of 3 parts soy wax chips and 1 part coconut oil into a double broiler or glass jar on low heat. Four cups of melted wax should yield approximately two small jar candles.
Step 3: Melt and Mix Wax
Stir mixture continuously over medium heat with a skewer until wax chips are completely liquified. If you choose to add scent or color, stir in a few drops of essential oil or candle dye before removing from heat.
Step 4: Pour Wax
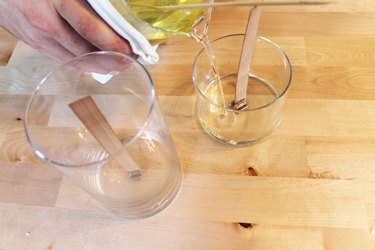
Carefully remove melted wax from heat and slowly pour into your jars, leaving a 1/2-inch of space at the top of the jar.

Step 5: Allow to Cool
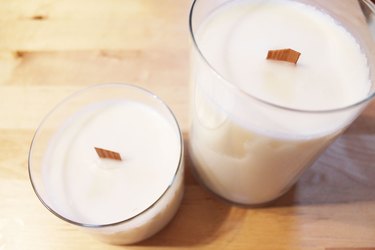
Allow your candles to cool overnight before trimming wicks down to a 1/4 inch. Your candles are now ready to burn. If storing, be sure to cover and keep in a cool space.

Step 6: Embellish Your Jars
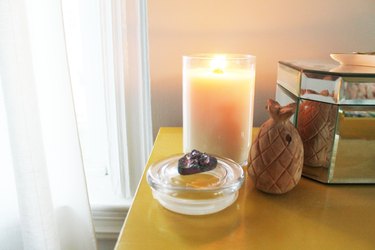
If you chose jars with lids, try adding decorative stones or gems with a strong adhesive.

Experiment with combining different essential oils to create custom scents , or add custom labels to sell your natural hand-poured creations! Unsure about where to find wax or dye ? Leave any questions in the comments below. Happy crafting!