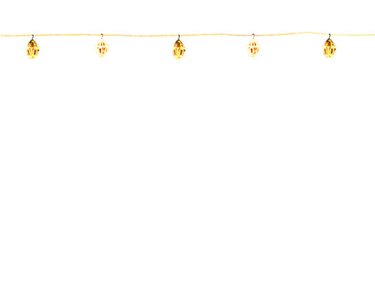
String lights are simply a number of lights attached to a length of wire at set intervals. Most string lights are wired in parallel, meaning each light bulb is the same voltage as the power source. Electric string lights add an attractive and warm feel to many places such as a patio area, back yard or in your home. Making your own set of string lights takes a little time, but is often cheaper than buying a set and, importantly, you get a sense of fulfilment when you switch on your homemade string lights.
Step 1
Determine how long you want your electric string lights to be and how many bulbs you want to wire. Use a tape measure to find the distance, then divide the measurement by the number of bulbs you want to use. For example, if you want your string lights to be 6 feet long and you want to wire 12 bulbs, then you need to wire a bulb every six inches.
Video of the Day
Step 2
Check the voltage from the power supply. This determines the voltage of the light bulbs. For example, if you're using an old car battery that produces 12 volts, then you need to use 12-volt light bulbs.
Step 3
Cut a length of dual AWG 16 gauge wire about two feet longer than your original wire measurement. This allows enough wire to connect to your power source. Use a pen and ruler, and put a mark evenly at intervals along the wire. Ensure you don't include the last two feet of wire, since you need this length to connect to your battery.
Step 4
Use a small knife, and carefully split the dual wire where you have made each mark. A slit of about an one inch is usually enough for each bulb.
Step 5
Remove ¼-inch of plastic from both ends of the dual wires so the metal wire is exposed using wire strippers or a small knife. Remove ¼-inch of plastic from the center of each dual wire that you split. Gently slice around each wire, then use the knife to slice the ¼-inch of plastic so you can slide it off and reveal the bare wire. Be very careful not to cut the metal wire, as it best to keep the wire as one complete string. If you do accidently cut the wire, then twist the two cut metal strands together using your fingers.
Step 6
Attach the two wires on the end of your string to a lightbulb holder. These are the wires on the opposite end of the extra two foot length. Loosen the screws on the lightbulb holder terminal using a small screwdriver, then insert the wires under the screws and tighten securely.
Step 7
Loosen the screws on all the lamp holder terminals. Look along the wire until you reach the first place you split the dual wire and removed the ¼-inch of plastic to reveal the bare wire. Slide the two metal wires under the two lightbulb holder terminals, then tighten the screws.
Step 8
Repeat the process attaching each lightbulb holder in turn along the wire until you attach the last lightbulb holder. Put a light in each holder.
Step 9
Connect the remaining two wires to the terminals of the battery. It doesn't matter which wire attaches to the terminals. If the battery has terminal clips, then attach the wires to them; if not, use a short strip of insulating tape to hold each wire in place. Your electric string lights illuminates as soon as you connect the last wire to the battery terminal.
Video of the Day