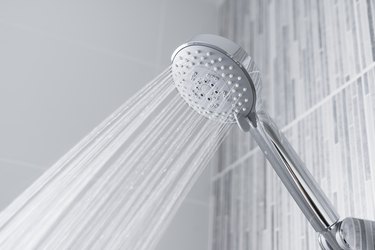
If your showerhead is less than 25 years old, it likely has a water restrictor inside. These restrictors are in place due to a government mandate that limits the flow of water from a showerhead to less than 2.5 gallons per minute. This serves the important role of helping homeowners save on their water bill, and it also helps to limit water usage for the betterment of the environment. That said, some homeowners might choose to remove their flow restrictors to improve water pressure.
When to Remove a Restrictor
Video of the Day
While the flow of a restricted showerhead is sufficient for most showers, the homeowner can decide to remove the restrictor. For instance, if your water pressure is low at home, you may not be getting enough flow in your shower, especially in an upstairs bathroom.
Video of the Day
If you have a Speakman showerhead, you should be aware that the brand's main line of showerheads uses their Anystream technology to provide the user with 48 different spray patterns, and most of their showerheads are designed to provide high-pressure spray even with lower water pressure to the house. If you still aren't happy with the water pressure, though, you can proceed with removal.
Speakman does not recommend removing the flow restrictor. However, in cases of low flow and low pressure, it's actually quite easy to do so. Keep in mind that this may increase your water bill.
Getting Started With Restrictor Removal
First, you will need to gather the equipment for the job: an adjustable wrench (you may need two), needle-nose pliers, a few paperclips, plumber's tape and a couple of rags.
The job doesn't require the water to be shut off to the house. However, it is a smart idea, just in case someone bumps the shower valve. If there's a shutoff valve to the bathroom, that may be more reasonable.
Then take the showerhead off the shower arm pipe. Sometimes this can be done by hand; if not, use a rag to avoid scratching anything. Then use a wrench to loosen the showerhead. If the pieces are extremely tight, use another adjustable wrench to keep a grip on one part while turning the other. Be sure to protect the metal surface with a rag.
Finding the Water Restrictor
Examine the plumbing of the showerhead. Most Speakman models have a black O-ring on the inside of the showerhead. Gently remove this with needle-nose pliers. Alternatively, you can also try doing so with an unfolded paperclip. If you damage the O-ring, you'll need to replace it or the showerhead might leak.
Beneath the O-ring is the water restrictor. Most of the water restrictors in Speakman showerheads are white plastic, but they could be other bright colors, like green, red or pink. Remove this from the showerhead using the needle-nose pliers. If necessary, you can use an unfolded paperclip to pry the restrictor out so that the needle-nose pliers can remove it.
Reassembling the Speakman Showerhead
Replace the O-ring and gently push it into position using a finger. Reassemble the showerhead and the shower arm pipe, using new plumber's tape on the threads. You should be able to hand-tighten the head onto the pipe and then use a wrench to tighten it more. Do not overtighten the connection, though, which can cause damage and showerhead leaks.
Test the new shower flow by running the shower for several minutes. There should be a significant increase in water pressure. With a Speakman showerhead, try multiple spray settings to ensure the flow is sufficient and not overwhelming.