Things You'll Need
Black hoodie
Black paper
Scissors
Rubber ball
White paper
Synthetic fur
Sewing materials
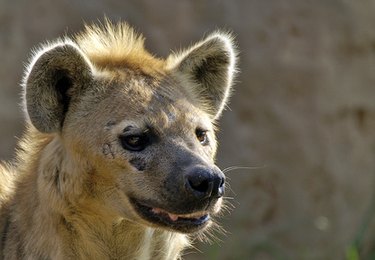
Making costumes is both difficult and rewarding. You will certainly save a lot of money making your own. Take your time with the design, as the last thing you want is to have to start all over again. A hyena costume presents its own difficulties, as hyenas are notoriously ugly animals so you probably do not want a "cute" costume. Decide beforehand exactly what type of hyena you're going for and then use the following steps to achieve your specific design.
Step 1
Cut two large dog ears out of black paper. Make them as big as possible since hyenas have big ears. You also want to exaggerate the features slightly, as this enhances the image of the costume. Curl the edges of the ears inwards slightly to give them a 3-D appearance.
Video of the Day
Step 2
Attach the two ears onto the top of a black hoodie. Either sew them on or simply using two or three safety pins.
Step 3
Sew synthetic fur onto the back of the hoodie. Hyenas have shaggy fur that extends from their foreheads to their lower backs. Acquire a synthetic fur that is either grey or dark and spotted. Sew this fabric to the tip of the hoodie where the forehead is, in between the ears, all the way to the lower back.
Step 4
Sew brown, gray or spotted synthetic fur to the front of the hoodie. This will create the look of a shaggy hyena underbelly. Make this as big as you want as long as there is no excess that is not attached to the hoodie at all.
Step 5
Construct the snout out of thick, black paper. Hyenas have big snouts so make a circular snout that has a 2 to 3-inch diameter. Simply bend the paper into a circular shape and glue the ends together with superglue. While bending the paper, try to taper it slightly towards the end of the snout to give it more of an authentic look. The end of the snout should be around 1 ½ inch in diameter.
Step 6
Add the nose to the snout. Cut a 1- to 2-inch rubber ball in half, paint it black and glue the outside of the ball to the inside of the paper snout.
Step 7
Finish the snout by adding teeth to the sides. Simply cut teeth out of yellowed paper and glue them to the side of the snout. Now pierce two holes at the top of the snout and put a rubber band through them. This will allow you to put the rubber band around your head and hold the snout in place over your nose and mouth. This way you can also take it off easily.
Video of the Day