Things You'll Need
Latex (exterior) or acrylic paint
Scraper
Selection of bristle brushes (one inch to four inch)
Acrylic varnish
Patching material (for cement or wood, depending on substrate)
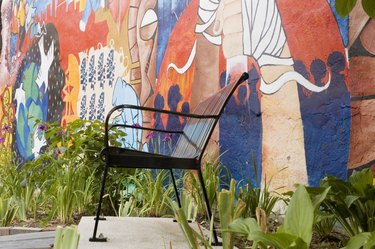
As in most painting jobs, the key to protecting a mural is good preparation. If the surface onto which you put your mural is crumbling and cracked, the mural is going to tumble to the ground as pieces of the wall fall out. Preparing the substrate by removing loose material and applying a proper primer for the mural are of the utmost importance. Once the mural is completed, you can finish the protection process with a sealer that will protect the paint skin and hold it together.
Step 1
Patch all holes and cracks in substrate. For concrete use a patching compound, and if the cracks or holes are large, coat the inside of the crack first with a concrete binding compound to ensure good adhesion of the patch. For wood, use an exterior caulk. For large gaps or damage, consider replacing the wood section with new lumber. The mural will last only as long as what it is painted on.
Video of the Day
Step 2
Patch all holes and cracks in substrate. For concrete use a patching compound, and if the cracks or holes are large coat the inside of the crack first with a concrete binding compound to ensure good adhesion of the patch. For wood, use an exterior caulk. For large gaps or damage, consider replacing the wood section with new lumber. The mural will last only as long as what it is painted on.
Step 3
Prime your surface either with an acrylic gesso or an exterior grade latex primer, depending on your budget. Both have similar coverage characteristics, but the gesso is more expensive and will last longer. Use a brush for best results, pushing the primer into the texture of the surface for a good seal. To save time, you can also roll and follow behind with a brush while the primer is still wet to cover any spots not fully covered.
Step 4
Execute the mural with either exterior grade latex paint or artist's acrylic paint, again depending on your budget. If you are thinking about long-term protection, the artist's acrylic is the best, but more expensive. The artist's colors will also be more heavily pigmented and will generally have more lightfast pigments.
Step 5
Seal the mural with an acrylic varnish applied with a brush. Again, a good varnish will not make up for a poor substrate, but if the preparation is solid, the varnish will protect the final skin of the painted mural. Another advantage of the acrylic varnish is that you can remove it without damaging the mural underneath. For the very best results, isolate the paint layer with an isolating agent such as a matte medium or liquid gel medium thinned with a bit of water to aid application.
Video of the Day