Home Sweet Home
Hacks, Tips & Tricks
Squeaky Clean
DIY Decor
Carpentry & Remodeling
Maintenance & Repair
Green Thumb
All Home Sweet Home
Chow Down
Main Dishes
Sweet Treats
Snacks
Copycat Recipes
Drinks & Cocktails
Sides & Appetizers
Veggie Faves
Food Hacks
All Chow Down
Get Crafty
Sew Simple
Fun Crafts
Art Projects
All Get Crafty
Let’s Celebrate
Valentine's Day
St. Patrick's Day
Easter
Mother's Day
Father's Day
4th of July
Back to School
Halloween
Thanksgiving
Christmas
New Year
Weddings
Baby Showers
Birthdays
Parties & Events
Gifts
All Let’s Celebrate
JOIN OUR NEWSLETTER
JOIN OUR NEWSLETTER
Home
Let's Celebrate
Weddings
Weddings
By
Gillian Ellis
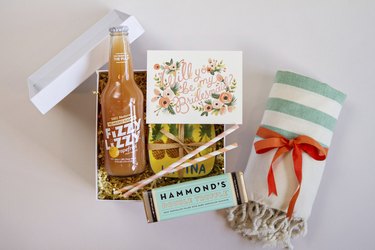
How to Make a "Will You Be My Bridesmaid?" Box
Let's Celebrate
By
Aya Pauli
What Are Good Buffet Foods to Serve at a Rehearsal Dinner?
Let's Celebrate
By
Karren Doll Tolliver
How to Make Tent Style Ceiling Drapes
Let's Celebrate
By
Kimberly Turtenwald
How to Drop Rose Petals From the Ceiling During a Wedding Ceremony
Let's Celebrate
By
Andrea Hamilton
Techniques to Make a Wedding Dress Longer
Let's Celebrate
By
Colby Stream
How to Decorate a Basketball Court for a Wedding Reception
Let's Celebrate
By
Gillian Ellis
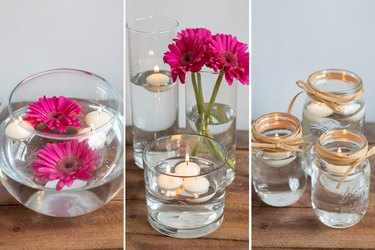
How to Make Floating Candle Centerpieces for a Wedding
Let's Celebrate
By
Sky Martin
How to Decorate a Staircase With Tulle for a Wedding
Let's Celebrate
By
Donna Tinus
How to Decorate a Stair Railing for a Wedding
Let's Celebrate
By
Andrea Hamilton
How to Make Tulle Bows for Church Pews
Let's Celebrate
By
Madeline Masters
Do-It-Yourself Ceiling Decor & Draping for Weddings
Let's Celebrate
By
Cyndi Bass
How to Decorate the Outside Railing With Tulle for a Wedding
Let's Celebrate
By
Tamiya King
How to Word Jack & Jill Bridal Shower Invitations
Let's Celebrate
By
Emily Jarvis
How to Dye a Bridal Veil
Let's Celebrate
By
Mike Johnson
How to Make a Pattern for a Train on Gowns
Let's Celebrate
By
Samantha Kemp
How to Build a Backdrop for a Wedding Out of PVC Pipe
Let's Celebrate
By
Megan Smith
How to Display a Wedding Gown in a Shadow Box
Let's Celebrate
By
Mary Love
How to Decorate with Lights and Tulle for Weddings
Let's Celebrate
By
Penny LaGasse
How to Keep a Boutonniere Fresh
Let's Celebrate
By
Helen Holzer
The Best Way to Steam a Bridesmaid Dress
Let's Celebrate
By
Lauren Griffin
7 Month Anniversary Ideas
Let's Celebrate
By
Stephanie Rutherford-Scott
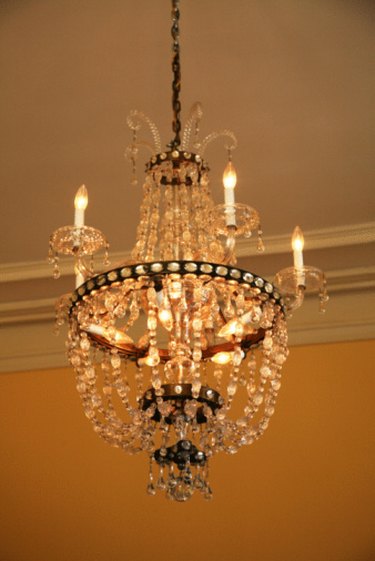
DIY: Crystal Chandelier for a Wedding
Let's Celebrate
By
Stefano Marrero
Bridal Shower Games for the Office
Let's Celebrate
By
Christina Gandolfo
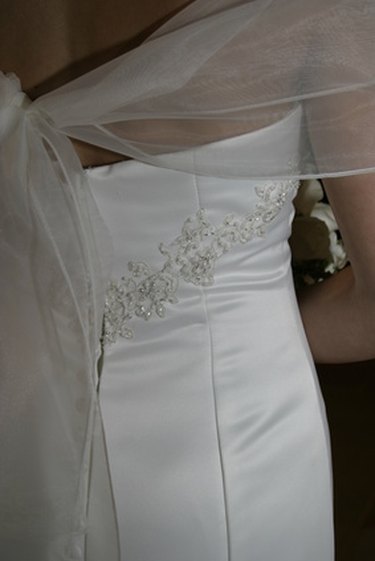
How to Bead a Wedding Dress
Let's Celebrate
By
Charity Tober
Special Things to Do on a 25th Wedding Anniversary
Let's Celebrate
By
Jessica McCahon
Inexpensive 45th Wedding-Anniversary Ideas for Your Parents
Let's Celebrate
By
Elyse James
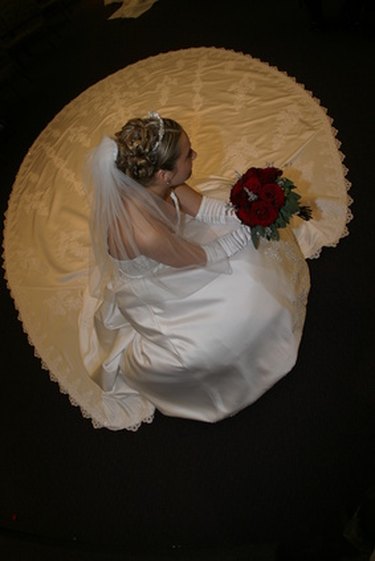
How to Repair a Torn Wedding Veil
Let's Celebrate
By
Lisa Rusczyk
How to Sign a Bridal Shower Card to a Future Daughter-in-Law
Let's Celebrate
By
Amanda Jane Gustafson
How to Make a Wedding Veil With a Tiara
Let's Celebrate
By
Rebekah Martin
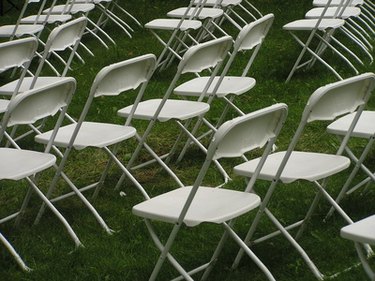
How to Make Wedding Chair Covers & Draping
Let's Celebrate
By
Kay Trillos
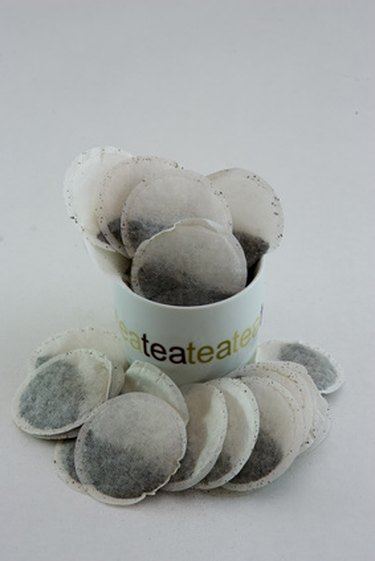
How to Tea Dye a White Wedding Veil
Let's Celebrate
By
Stephanie Rempe
How to Preserve Wedding Veils
Let's Celebrate
By
Rosalind Mohammed
How to Attach a Veil to a Tiara
Let's Celebrate
By
Amanda Long
How to Connect Lighted Wedding Tulle to Tables
Let's Celebrate
By
Madigan Talmage-Bowers
How to Add a Train to a Wedding Dress
Let's Celebrate
By
Nikki Van De Walle
How to Add Panels to a Wedding Dress
Let's Celebrate
1
2
3
>