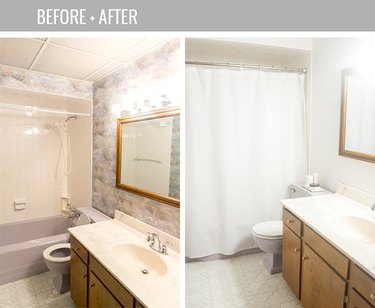
Don't despair if your bathroom tile sports dingy grout lines. With this grout makeover tutorial, you have the ability to skip the need to retile an entire space—which can quickly get messy and costly—and instead use a grout paint pen to make the space look bright white again. The entire project takes just an hour or two to complete depending on the size of your bathroom, and costs less than $30. Here's how to do it yourself.

Video of the Day
Things You'll Need
Vacuum and mop
2–3 grout paint pens, depending on the square footage of tile
Scrap cardboard
Cup of clean tap water
Clean, dry rag
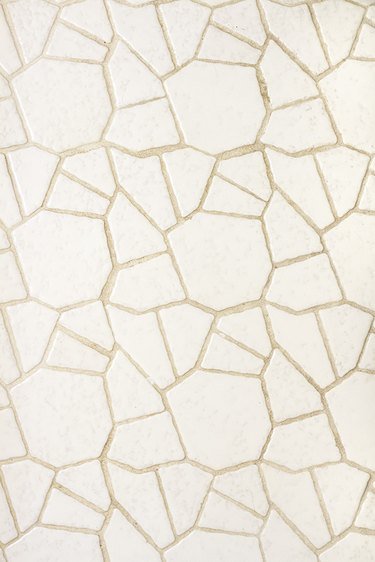
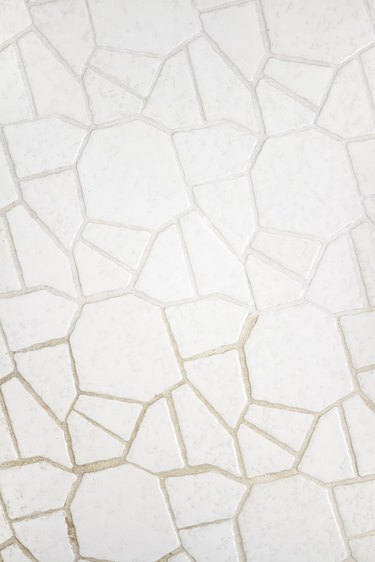
Step 1: Clean the Tile Well to Prep for Paint
Prep the tiled work area by carefully vacuuming up any dust or hair, and then mopping with a mild floor cleaning solution. Be sure to clean the grout lines in particular in this step so that it will take the paint properly. Allow the mopped flooring to dry for 1–2 hours, or until it is completely dry to the touch.
Video of the Day
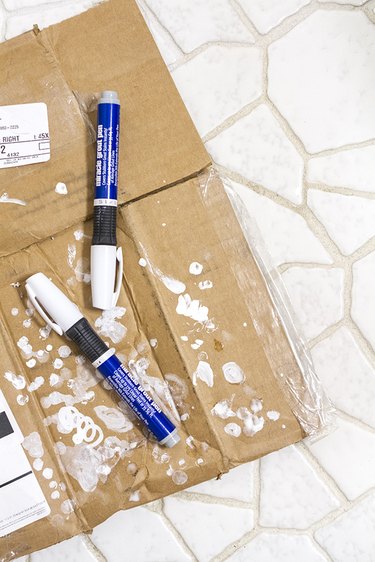
Step 2: Activate the Grout Paint Pen
Follow the instructions that come with your particular grout paint pen. For this project, the paint pens were each shaken with the cap on for two minutes. Then, the tip of the pen was depressed repeatedly on top of scrap cardboard until the pigment came out of the end of the pen. The pen was then ready for use.
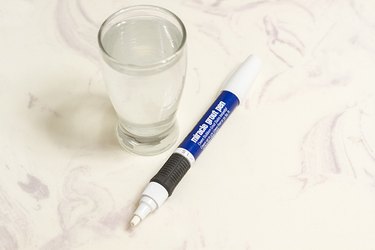
Step 3: Dilute the Grout Paint in Water
Have a small cup of clean tap water nearby. This will be used to dilute the paint from the tip of the grout paint pen before each use. Just dip the tip of the pen right into the water. By doing so, the paint will soak into the existing grout line with ease, and the pigmentation will look a little more natural as opposed to harsh, solid white lines. Diluting the paint in water also will allow the pigment in the pen to last longer so you will need to purchase fewer pens for the job.
Step 4: Paint on and Wipe Away Excess Paint
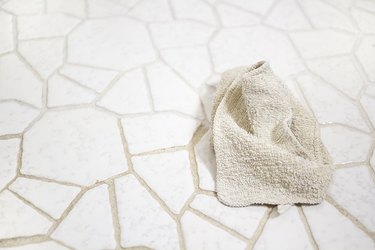
Starting in the back corner of the room, rub the activated and diluted grout paint pen tip onto the existing grout line, completely soaking the surface. It's okay to get the paint on top of the tile. Repeat the steps in 1–2 minute increments, and then set the pen aside.
Pick up a clean, dry rag and gently wipe back over the area you just painted. Concentrate your wiping on the edges of the tiles so that you soak up any excess paint that made it onto the edge of the tile. If any one part of the grout line looks too painterly, you can wipe it down with the rag, too. This will help to blend it with the other grout lines.
Step 5: Allow the Grout Paint to Dry
Continue repeating the steps across the entire room until finished. Note that re-shaking the pen and re-pressing the tip of the pen against the cardboard periodically will reactivate the pigment as you go. When finished, allow the painted grout lines to dry for a full 24 hours before stepping on them or getting them wet.
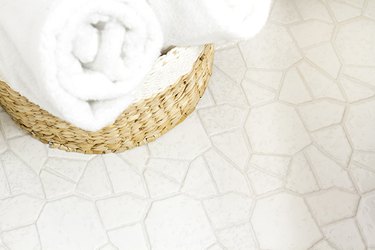
Although you may need to reapply pigment to the grout lines every few years to maintain a bright white finish, the product should last for the long haul and is easy to vacuum and mop over with normal cleanings.