Things You'll Need
Floor jack
Jack stands
Lug wrench
Torque wrench
Turkey baster
Combination wrenches
Slotted screwdriver
Triple square driver, 14 mm
T30 Torx driver
Anti-seize lubricant
Penetrative lubricant
Mechanic’s wire
Brake service kit
DOT 4 brake fluid
Keeping your brakes in shape is very important for maintaining the safety and braking performance of your 2008 Volkswagen Jetta 2.5. In order to repair and replace the Jetta's brakes, the wheels must be removed and the components removed from the vehicle. Performing this task may take several hours to complete in normal conditions, but those who wish to perform this task themselves will save possibly hundreds of dollars on labor costs.
Removing the Old Brakes
Step 1
Park the Jetta on a flat, level surface. Loosen the lug nuts with the lug wrench prior to raising the vehicle. Siphon 1/3 of the brake fluid inside the brake master cylinder reservoir with a turkey baster. Dispose of the siphoned fluid in an environmentally friendly manner.
Step 2
Raise the vehicle off the ground with a floor jack and secure the vehicle with jack stands. Finish removing the lug nuts with the lug wrench. Remove the wheel from the hub to reveal the brake hardware.
Step 3
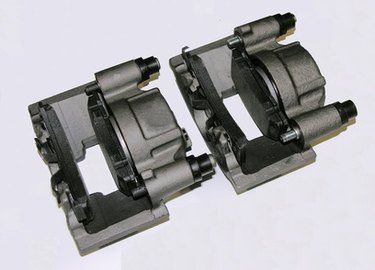
Locate the caliper guide pins. These pins consist of a 13mm bolt and a 16mm nut in between. Use one combination wrench to hold the 16mm nut while working the 13mm bolt loose with a second combination wrench. Pull the caliper off of the caliper bracket and suspend it in mid-air with mechanic's wire.
Step 4
Pry the brake pads loose from the caliper bracket with a slotted screwdriver. Use a 14mm triple square driver to remove the two bolts holding the caliper bracket to the hub. Move the bracket out of the way to gain access to the brake rotor.
Step 5
Use a T30 Torx driver to remove the Torx screw from the front of the rotor. Grasp the rotor with both hands and pull it away from the hub. If the rotor is frozen on, apply a liberal amount of penetrative lubricant on rotor where it joins with the hub and allow it to set for a few minutes, and then gently tap the rotor free with a rubber mallet.
Installing the New Brakes
Step 1
Apply a liberal amount of anti-seize lubricant to the hub prior to installing the new rotor. Mount the rotor onto the hub and secure it with the T30 Torx screw.
Step 2
Reattach the caliper bracket onto the hub and over the rotor. Reinsert and tighten the two retaining bolts with the 14mm triple square driver. Insert the new brake pads into caliper bracket.
Step 3
Use a brake service kit with the appropriate adapter to twist the brake caliper piston back inside of the caliper housing. The correct adapter will have two raised bits that fit inside of the notched slots on the caliper piston.
Step 4
Slide the caliper over the brake pads and onto the caliper bracket. Reinsert the two guide pins and tighten them with the combination wrenches.
Step 5
Repeat the procedure on the other wheels. Mount the wheel onto the hub and reattach the lug nuts. Tighten the nuts by hand before lowering the vehicle. Remove the jack stands and lower the vehicle to the ground. Use a torque wrench to tighten the lug nuts to 90 foot-pounds. Add fresh DOT 4 brake fluid to the brake master cylinder reservoir until it reaches the Full mark.
Warning
Do not reuse old brake fluid, as it can contain moisture and other contaminants that can cause damage to the brake lines and other parts of the brake system.