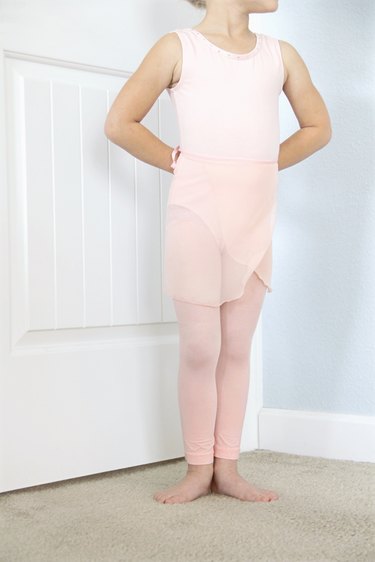
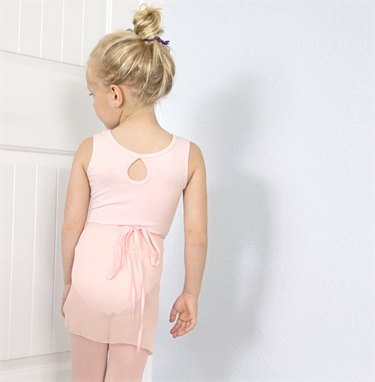
Whether you are looking for a ballerina costume or for a practical outfit to wear in the dance studio, the ballet wrap skirt is a staple in every ballerina's closet. Worn over a leotard and tights, the ballet wrap skirt is actually easy to make, needing only basic sewing skills. With a little bit of chiffon and ribbon, you can be pirouetting in no time.
Things You'll Need
Video of the Day
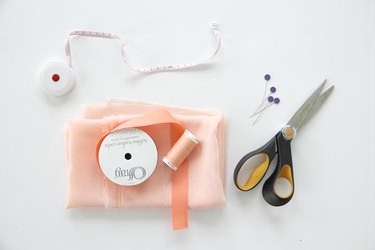
- Measuring tape - 1/2 yard chiffon fabric - Fabric scissors - Coordinating thread - 1-1.5-inch wide ribbon (grosgrain, silk or double-fold bias tape all work) - Iron - Pins - New, very fine sharp-point universal sewing needle (70/10) - Sewing machine
Video of the Day
Step 1: Measure Waist
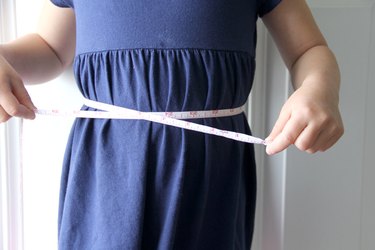
Wrap the tape measure around your waist (or the waist of the person for whom you're making the skirt), overlapping the tape measure in the front center. Extend the tape so that it reaches to both sides of your body. Record this number; it will be your skirt width.
Furthermore, measure from your waist to your desired skirt length. Record this number as well.
Step 2: Cut the Skirt Rectangle
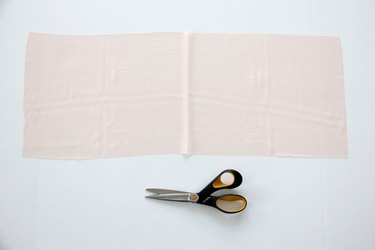
Cut one rectangle from your chiffon fabric: your skirt width by your skirt length.
Tip: Chiffon can be slippery. Place pattern weights (or other heavy objects) on top of the fabric prior to cutting so that the fabric does not shift when cutting.
Step 3: Curve the Skirt Edges
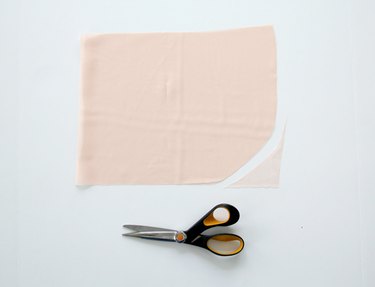
Fold your rectangle in half so that the two sides meet up. Cut the bottom skirt edges on a curve.
Step 4: Finish the Bottom Skirt Edge
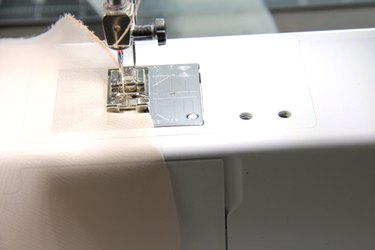
Before you start sewing, install a brand-new fine-point universal needle (70/10) into your sewing machine. If your machine has a feature for changing the presser foot tension, set it to the lowest setting. If not, it is already preset for medium pressure and should not be a problem. Don't change it. You want your stitch length to be fairly short, between 12 to 20 stitches per inch.
Using a very small zigzag stitch, sew around the entire bottom (curved) edge of the skirt. The zigzag stitches should go directly over the bottom edge of the chiffon: One side of the zigzag stitch goes over the bottom, and the other side goes on the material. This will enclose the hem within the zigzag stitch, creating a rolled hem look and feel and eliminate most fraying. It helps to hold the front and back of the chiffon fabric as it is going through the foot, making sure not to stretch the fabric as you hold it secure.
Tip: If you are having trouble sewing with chiffon, place a piece of tissue paper underneath the fabric while you sew. You can gently tear the paper away later, and it will help stabilize the chiffon while sewing.
Optional, for more experienced seamstresses: Use a rolled hem foot.
Step 5: Trim the Loose Threads
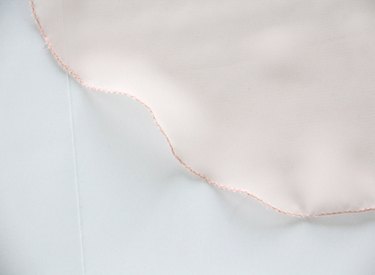
The bottom edge of your skirt will now have a finished hem that will not fray. Trim any loose or stray threads sticking out, being careful not to cut your skirt accidentally.
Step 6: Pin Ribbon Along the Top
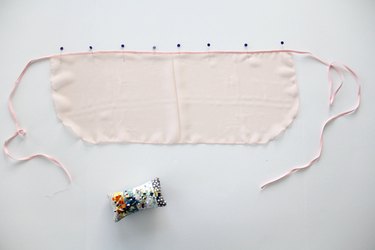
Measure your ribbon so that it is three times the width of your skirt. Fold the ribbon in half and press, unless you are already using double-fold bias tape. Enclose the top of the skirt's edge inside the middle of the folded ribbon. Pin along the top of the skirt. You want your pins sticking up, or at a 45-degree angle away from the direction in which you will be sewing. This will make it easier to remove the pins when sewing.
Leave the ribbon ends hanging off of the skirt's sides for ties. The ties should be able to wrap around you from the front to the back and tie in a nice bow. You can adjust the length as needed when finished after trying on the skirt.
Step 7: Sew Ribbon
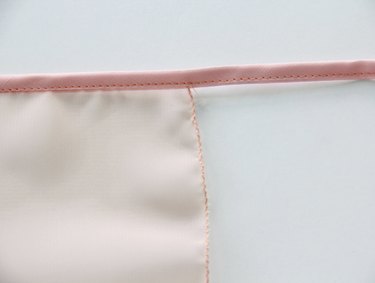
Using a small straight stitch, sew the ribbon at the ribbon's bottom edge, going from one end of the ribbon all the way to the other side.
Step 8: How to Tie the Skirt
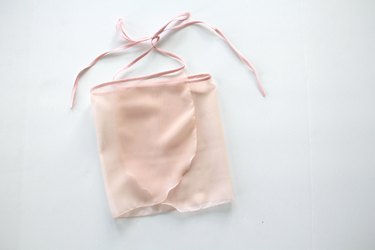
To put on the skirt, place the back center of the skirt at the back center of your waist. Wrap each side of the skirt toward the front, folding one side of the skirt over the other. Bring the ties tightly toward your back center, and tie in a bow at your back.
Care Instructions
Chiffon needs proper care. To clean, place the skirt in a mesh laundry bag and wash on a delicate cycle in cold water using mild detergent. When finished, lay the skirt flat on a towel to dry, and press down with a second towel on top of the chiffon to remove any excess water from the chiffon. Allow to lay flat and dry fully.