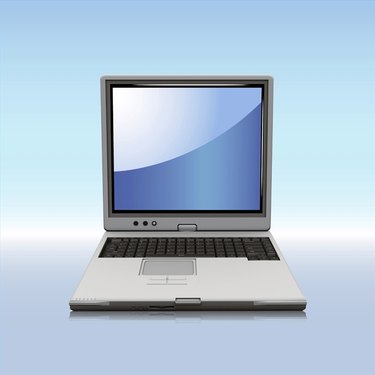
Taking apart a HP laptop is sometimes necessary in order to keep the laptop in running condition. Whether it’s to clean out dust and debris or replace a part, dismantling a laptop is relatively simple.
Step 1
Turn laptop off. Unplug the power cord.
Video of the Day
Step 2
Turn the laptop over so the bottom is up and the rear panel is facing you.
Step 3
Pop open the battery cover by sliding the release switch to the right. Lift the battery out of the laptop.
Step 4
Unscrew and remove the two screws holding the hard drive cover into place. Remove the hard drive by lifting it out of the laptop using the notch at the top of the cover. Keep the hard drive and the cover in one piece unless you are replacing the hard drive.
Step 5
Unscrew all of the screws found on the rear panel.
Step 6
Turn the laptop right side up and open the top.
Step 7
Slide the four keyboard release switched towards you. They are located above the keyboard. (On some models the keyboard release switches or screws are under a screen or cover; use your flathead screwdriver to pop this off to access the switches and release the keyboard.) Lift the top edge of the keyboard and flip it towards you so that the keyboard rests upside down over the mouse pad. Press down on the button in front of the keyboard cable to release the cable. Remove the keyboard from the laptop.
Step 8
Unscrew the wireless antenna receivers which are located between the laptop screen and laptop base.
Step 9
Unplug the DVI cable.
Step 10
Unscrew the screws holding the cover to the laptop base. Remove the laptop cover.
Video of the Day