Things You'll Need
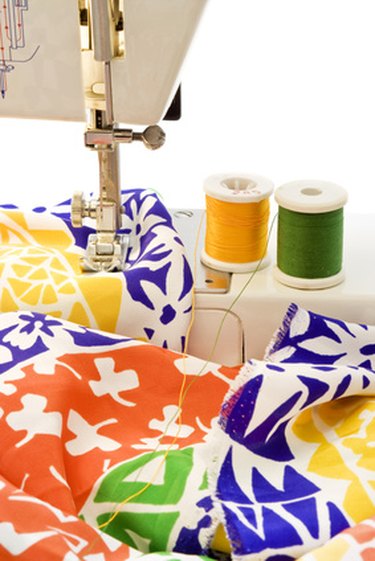
Spool of thread
Needle
Baby Lock sewing machine
Baby Lock produces a wide range of sewing machines and while the majority of its latest models feature automatic needle threaders, some of the firm's older machines can only be threaded by hand. While that might sound daunting to beginners or those of you who have not used a sewing machine for a long time, the threading process is a fairly straightforward task, even for those who do not possess nimble fingers. Baby Lock models that must be threaded manually include the BL 1550, BL 2000 and BL 2100.
Step 1
Ensure the Baby Lock machine is turned off by either switching its power button to the off position, or removing its plug from the wall or floor socket.
Video of the Day
Step 2
Place the needle in the machine's needle holder and raise it to its highest point by slowly rotating the handwheel toward you in a clockwise direction.
Step 3
Raise the presser foot and place the spool of thread on the horizontal or vertical spool pin depending on your specific Baby Lock model. If it is a horizontal spool pin, then make sure you fit the spool cap in place, or the thread could come loose and tangle during operation.
Step 4
Identify the various threading points on the top of the machine's exterior and pass the thread through all of them before leading it down toward the tension mechanism.
Step 5
Pull down a few inches of thread and lead it through the tension mechanism, the take up lever, and, finally, the thread guide located above the needle.
Step 6
Thread the needle from front to back. Lower the presser foot and turn on the Baby Lock.
Step 7
Check if you have successfully completed the threading process by placing a piece of fabric underneath the presser foot and sewing for a few seconds.
Video of the Day