ValentynVolkov/iStock/Getty Images
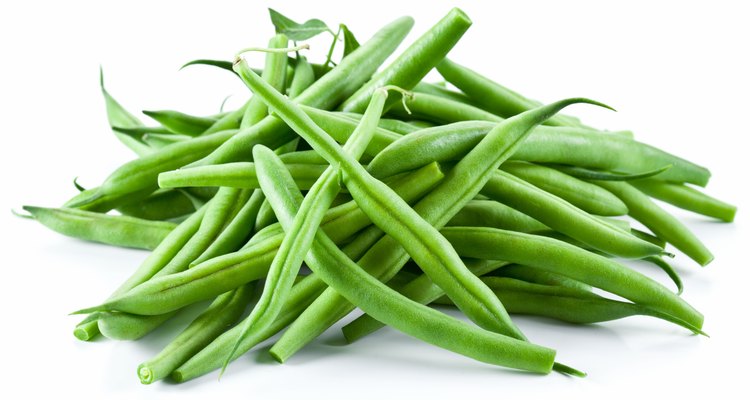
While fresh greens might be the most flavorful form of this vegetable, dehydration and other storage methods can be useful for keeping the vegetables from spoiling over an extended period. Because dehydration removes the water from the vegetables, they are more calorie-dense than regular green beans. This can be beneficial if you have high-calorie needs, but can be detrimental for dieting.
Calories
Dehydrated green beans are calorie-dense, as they don't have water to increase their volume. A 1-ounce serving of dehydrated green beans provides 102 calories, or 5 percent of the daily recommended intake of 2,000. If you're dieting, dehydrated green beans might not be optimal, as it would take 28 minutes of weightlifting or 21 minutes of playing volleyball to burn 102 calories.
Carbohydrates
Dehydrated green beans, as with other plant-based foods, are rich in carbs. A 1-ounce serving of dehydrated green beans provides 20 grams of carbs, which fuel your body for activity, so high-carb foods can be useful for athletic activity. Restricting carbs is a popular method for weight loss, but it isn't necessary, so you could still eat dehydrated green beans when dieting if you keep your calorie intake in check.
Fiber
Dehydrated green beans are rich in fiber, as each 1-ounce serving contains 9 grams of this nutrient. Fiber can help you manage your cholesterol levels and guard against constipation and hemorrhoids by promoting healthy digestion. Fiber also promotes feelings of fullness.
Protein
Dehydrated green beans contain a moderate amount of protein, with 5 grams in each 1-ounce serving. This is 3 grams less than a cup of milk provides. Your body needs protein for proper growth and development, as the nutrient helps build and repair muscle and other essential tissues.
Minerals
Dehydrated green beans aren't particularly rich in minerals, but each 1-ounce serving does provide 10 percent of the daily recommended intake of calcium and 6 percent of the daily recommended intake of iron.
Vitamins
Dehydrated green beans are rich in vitamins. Each 1-ounce serving provides 75 percent of the daily suggested intake of vitamin C, which helps produce collagen, a structural component of your bones, tendons and other tissues. Additionally, 1 ounce of dehydrated green beans provides 37 percent of the daily suggested intake of vitamin A, which promotes healthy vision.
Related Articles

Which Vegetables Produce the Most ...

Nutrition Information on Blueberries

Cannellini Beans for Weight Loss

Vitamins for Mental Alertness

Can I Exercise on the Master Cleanse ...

What Are the Benefits of a Green Drink?

Bodybuilding and Losing Fat With Skim ...

How to Cook Green Beans to Be Crisp and ...

Bean Soup Diet

How to Take Vitamins With Coffee

The Calories in Garbanzo Beans

Diets of Asian Martial Artists

Nutrition Drinks for Diabetics

The Best Fluids to Drink With COPD

What Are the Benefits of Great Northern ...

List of Vegetables That Contain Protein ...

Greenbean Diet

How to Freeze Edamame Soybeans

Calorie Count of Beans

The Nutritional Value of Edamame Beans
References
Writer Bio
Brian Willett began writing in 2005. He has been published in the "Buffalo News," the "Daytona Times" and "Natural Muscle Magazine." Willett also writes for Bloginity.com and Bodybuilding.com. He is an American Council on Exercise-certified personal trainer and earned a Bachelor of Arts in journalism from the University of North Carolina.
Photo Credits
ValentynVolkov/iStock/Getty Images