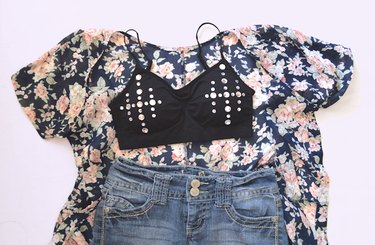
A rhinestone bra can add major pizazz to any outfit. They're perfect for music festivals, clubbing or simply spicing up your wardrobe. For a subtle dose of sparkle, layer a rhinestone bra under a tank top or cardigan. You can also wear it alone for a daring look. Regardless of your style, you can make a rhinestone bra for less than you can purchase one at the lingerie store.
Things You'll Need
Bra
Measuring tape
Strong craft glue or fabric glue
Flat-back rhinestones
Video of the Day
Step 1
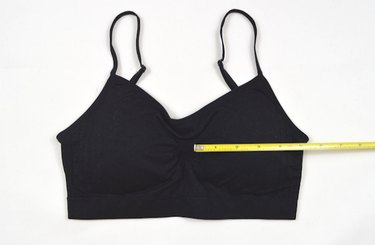
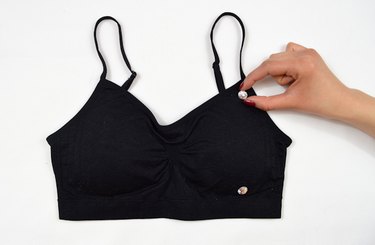
Measure the width and height of one bra cup. These measurements help determine the size of your rhinestone design.
Video of the Day
Step 2
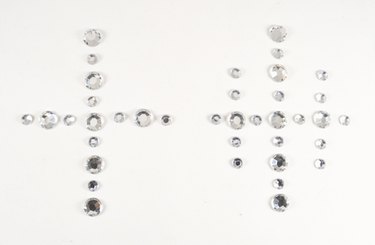
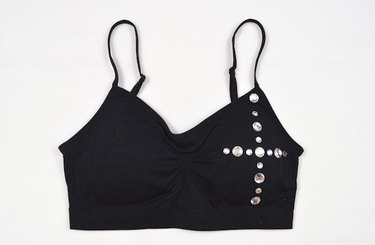
Plan your design before gluing rhinestones to the bra. This lessens the chance for error, and prevents the need to reposition rhinestones after you glue them down, which can get messy and potentially ruin your bra. This design starts with a basic grid pattern made of two rows of rhinestones in a cross with several small rhinestones on either side.
Step 3
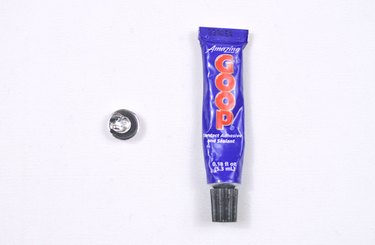
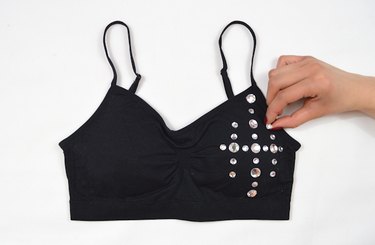
Adhere each rhinestone to the bra with a small amount of glue applied to the back. Do this one by one as you work through the design. A toothpick makes it easier to apply glue to smaller rhinestones.
Step 4
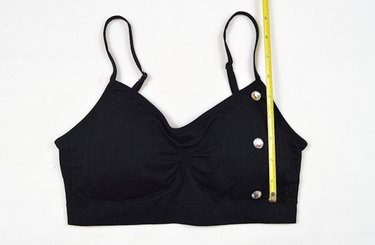
Create a single row by gluing the outermost rhinestones first (you fill in the space between them later). This simple trick centers the pattern and keeps it evenly spaced. For this pattern, the grid design serves as a guide. The top and bottom rhinestones of the center vertical line were positioned first.
Step 5
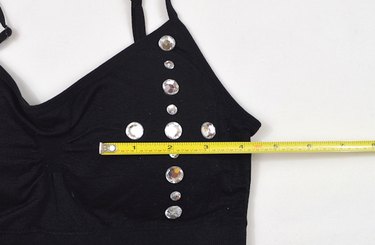
Use the measuring tape to determine the middle point between the two rhinestones. Add a rhinestone at the midpoint.
Step 6
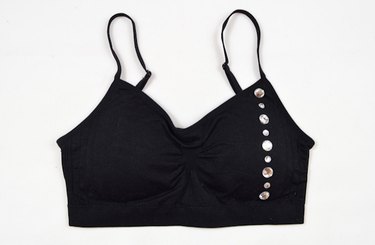
Complete the single row by gluing rhinestones in the spaces between the ones you already positioned. For a striped design, simply create multiple rows in the same manner.
Step 7
You can also make rows of rhinestones cross through each other. Add a rhinestone on each side of the center rhinestone, taking care to keep the spaces between the rhinestones even.
Step 8
Add more rhinestones as desired. You can weave small rhinestones between the larger ones, if you like.
Step 9
Complete the basic guidelines, then add the remaining rhinestones to complete your design.
Step 10
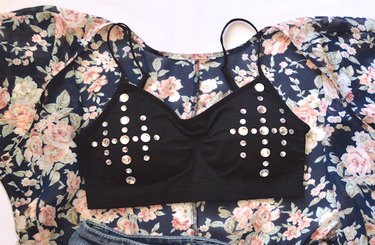
To complete your bra, repeat the pattern on the other cup. Leave the bra to dry for 24 hours.
Tip
Instead of strong craft glue (such as E6000), you can use fabric glue.
Create a design that suits your taste and style. For a less structured look, randomly glue rhinestones all over the bra. For an extra dose of sparkle, glue more rhinestones to the straps or bottom band. For a minimalistic vibe, glue just a few rhinestones along the border of each cup.
Warning
Work with craft glue in a well-ventilated area.