Things You'll Need
Digital camera
Scissors
Navy blue card stock
Gold letter stickers
Bald eagle picture
Glue
White paper
Stapler
A mock passport is an excellent project to reinforce lessons about different countries, whether you home school, teach a group of children in a classroom or just want a fun way to introduce your family to geography. Children can study facts about each country, and then add the information to their passports. At the end of the year, the students can keep the passports to remind them of the lessons.
Step 1
Stand each child against a white wall. Take a picture of the child's face with a digital camera.
Video of the Day
Step 2
Print each child's picture in the standard passport size of 2 inches by 2 inches. Have the children cut out their pictures.
Step 3
Cut a rectangle of navy blue card stock measuring 4 3/4 inches by 7 inches. Fold the rectangle in half, dividing the longer edge, to create the outside of the mock passport.
Step 4
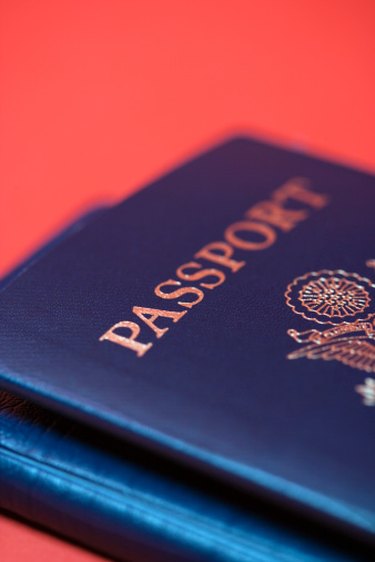
Use gold letter stickers to create the passport cover. Spell "Passport" on the top of the folded card stock's front and add "United States of America" to the bottom of the cover. Glue a picture of a bald eagle in the center of the cover. Print out clip art of an eagle, or use a sticker or picture from a magazine.
Step 5
Cut three to five rectangles, each measuring 4 3/4 inches by 7 inches, from white paper. Fold the paper like you did the card stock for the passport cover. Staple the white pages inside the card stock cover.
Step 6
Create a title page. Turn the passport to the first white page and write "United States of America." Have each child glue his photo underneath the words.
Step 7
Write the child's personal information on the second page. Real passports include a full name, birth date, state of residency and country. Underneath this information, write the date that the child is creating the passport. Add an expiration date below the creation date. Official children's passports last 5 years before they expire.
Step 8
Assign one page in the passport for each country that you study. Use letter stickers to name the country at the top of the page. Have the children list information about the country under its name, add the date it was studied, and finish the page with a picture of the country's flag. Print flags from the Internet or let the children draw them onto the page.
Tip
Use contact paper to protect the outside of the passport.
Video of the Day