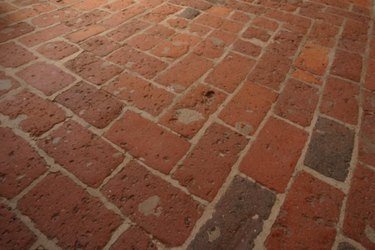
Brick is a classic building material and brings warmth to a home. However, while bricks are durable, they also have porous surfaces which can acquire dirt and grime with the passing of the years. Restoring your brick floor may take some determination, but with the right techniques you can remove paint, clean set-in stains and even repair the mortar to bring your floors back to life. The restoration process can take weeks or longer, depending on how much work your particular floor needs.
Step 1
Move everything out of the room and off the brick. Tape plastic sheeting over any areas which contact your brick floor to protect the walls and nearby floors from water damage.
Video of the Day
Step 2
Apply a paint stripping product as per the manufacturer's directions to strip away any paint. A paste or gel paint stripping product works well. You may need to apply the product more than once.
Step 3
Look for any damage to the brick. Brick that is badly damaged my not be repairable, but you can't know for sure until you remove the paint. If there is excessive pitting or spalling -- peeling, popping, or flaking of the surface material due to water damage -- you may simply repaint the brick.
Step 4
Clean the floor using a stiff-bristled nylon scrub brush, water, and a degreaser. Apply the degreaser with a cleaning sponge, give it 15 minutes to soak in, and then scrub the surface. Rinse frequent and blot dry with an old towel. Don't worry if scrubbing removes some of the mortar because it can be replaced.
Step 5
Chip away any cracked or crumbling surface mortar to get to undamaged mortar beneath. It doesn't have to be clean, as you'll be laying fresh mortar over it, but it must be holding together well enough to adhere to the new mortar. Use a chisel that fits easily into the masonry joints and wedge it in with a hammer. Create a cut down the center of the joint. Break up the mortar and chisel it out.
Step 6
Use a small broom or brush to clear the dust from the joints. Mix the new mortar as per the manufacturer's directions and allow it to rest for 10 minutes. Stir before using. It must be thick enough to stick to a trowel even if the trowel is turned upside down.
Step 7
Load your trowel with mortar, bring it close to joint, and then use the pointing trowel to scrape the compound into the gap. For deeper joints -- greater than 3/4 inch -- fill the gap with one layer, allow it to harden until you can just barely press it and leave an indentation, and then fill in a second layer to bring the mortar up to the correct level.
Step 8
Replace missing bricks with new bricks. Fit the new brick into the gap and apply the mortar compound around it, being careful not to leave mortar stains on the brick.
Video of the Day