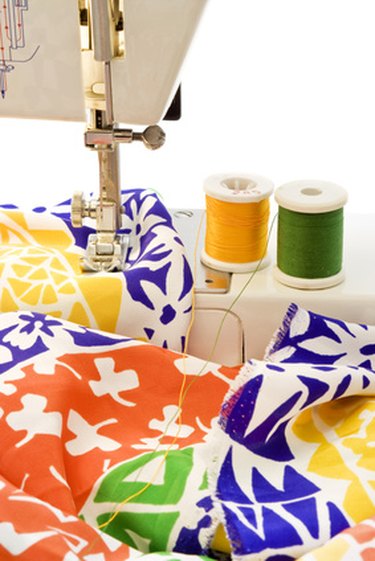
The Elna company manufactures and distributes lightweight sewing machines in over 60 countries. Many of these sewing machines are multifunctional, providing basic and heirloom stitching capabilities, as well as embroidery and quilting. You may find when switching from one type of stitch to another that the Elna top or bottom stitch tension needs to be adjusted. There are separate manual controls for top and bottom stitch tension.
Step 1
Ensure that the Elna sewing machine top thread is correctly threaded from the thread spool on top of the machine down through the tension disks, down and up through the thread take-up mechanism and through the needle. Refer to your owner's manual for the correct threading process, as each model may have a slightly different set of instructions.
Video of the Day
Step 2
Place a material swatch beneath the needle foot and lower it. Set the stitch length dial to "Medium" and run a few inches of stitches. Cut the thread with scissors and remove the material swatch from the sewing machine. Hold the material swatch in both hands and pull on the thread ends on either side at the same time. Examine the top and bottom stitches for loops or puckering.
Step 3
Locate the upper tension control dial on either the faceplate, near the needle-bar housing or on the upper arm of the machine head, depending on the Elna sewing machine model. If the top stitches are loose, turn the upper tension dial 1/4 turn to the right to tighten the tension. If the material puckers and the stitches are too tight, turn the upper tension dial 1/4 turn to the left to loosen the tension.
Step 4
Open the bobbin compartment and remove the bobbin casing. If the bottom stitches are loose, turn the screw closest to the bobbin case's center 1/8 turn to the right with a small jeweler's screwdriver. If the bottom stitches are too tight, turn the same screw 1/8 turn to the left to loosen the stitch.
Step 5
Place the material swatch beneath the needle foot again and lower it. Set the stitch length dial to "Medium" and run some more stitches. Cut the thread with scissors and remove the material swatch from the sewing machine. Hold the material swatch in both hands again, and pull on the thread ends on either side at the same time. Examine the stitches and material for further loops or puckering, and adjust the upper and lower tensions accordingly.
Video of the Day