Bose Wave radios use a single fuse to provide over-voltage protection for the circuit board. In the event of a power surge, or if the radio is plugged into an outlet with excessive voltage, the fuse will blow to prevent permanent damage to critical circuit components. The fuse is located on the circuit board near the main transformer and is easy to access. You can locate and replace fuses in a Bose Wave radio in about 30 minutes without any special tools.
Step 1
Unplug the Bose Wave radio to prevent possible shocks while replacing the fuse.
Video of the Day
Step 2
Turn the radio over and remove the three Phillips-head screws from the bottom panel. Turn the radio upright and insert the blade of a flat-head screwdriver in the slots under the grill on the front of the radio. Use the screwdriver to pry the grill outward until it clears the locking tabs and releases from the bottom panel. Lift the top off the radio.
Step 3
Locate the power transformer on the back-left side of the main circuit board. Remove the 5-pin plug connecting the transformer to the circuit board.
Step 4
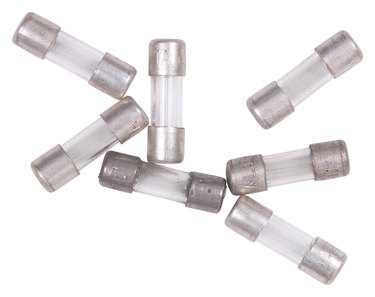
Locate the fuse next to the 5-pin connector on the circuit board.
Step 5
Pull the metal cups away from the ends of the fuse with needle-nose pliers. Pull the cups far enough apart to slide the fuse out of the fuse holder.
Step 6
Place a replacement fuse of the same voltage and amperage rating as the original between the metal cups. Push the metal cups together to hold the fuse firmly in place.
Step 7
Connect the 5-pin plug to the circuit board. Place the cover on the Bose Wave radio and snap the front grill over the locking tabs. Make sure the ribbon cable connected to the CD door lays flat in the track next to the CD mechanism when positioning the cover. Install and tighten the three Phillips-head screws in the bottom panel.
Video of the Day