Things You'll Need
100- and 120-grit sandpaper
Vacuum cleaner
Tack cloth or lint-free rags doused in mineral spirits
Stain
Wooden paint sticks
Clean, lint-free rags
2 paintbrushes with natural fibers
Water-based polyurethane
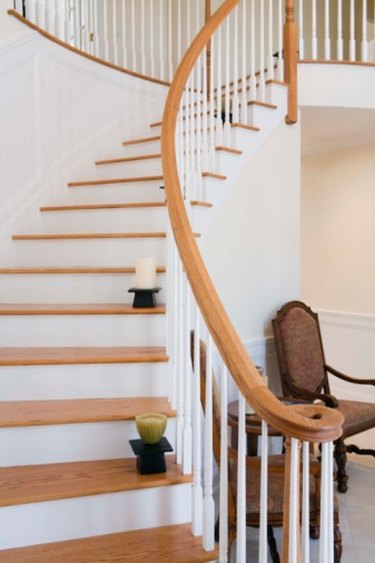
Oak is a beautiful, heavily grained wood with a naturally rich honey color. Homeowners and contractors choose oak for stair treads because of oak's strength, resilience and durability. Oak stair treads usually sport a bullnose, or rounded, edge along their length. Choose a stain that enhances the richly grained lines of oak, such as a honey or deep red oak color. A satin polyurethane finish will protect the stain and provide a suitable surface for foot traffic.
Step 1
Sand the treads with 100-grit sandpaper. Sand in the direction of the grain, never perpendicular to it. Stroke the wood to make sure that the treads are smooth, with no wood fibers sticking up from the surface.
Video of the Day
Step 2
Vacuum the sanding residue from the treads. Use a tack cloth or rags to wipe every trace of dust from the treads.
Step 3
Stir the can of stain gently with a paint stick. Take care to stir up any congealed stain at the bottom of the can for uniform color.
Step 4
Dip the paintbrush into the stain, and tap the brush on the lip of the can of stain to remove any excess stain from the brush. Stroke the surface of the wood with the brush. Paint the treads in the direction of the grain. Wipe off the excess stain with a clean, lint-free rag. Allow the stain to dry according to the manufacturer's instructions.
Step 5
Apply another coat of stain to the treads. Wipe off any excess stain with the lint-free rag. Allow the stain to dry according to the manufacturer's instructions.
Step 6
Open the can of polyurethane and very gently stir the liquid with a paint stick. Avoid creating bubbles as you stir.
Step 7
Dip a clean paintbrush into the polyurethane. Avoid loading the brush with polyurethane; the liquid should not gush or drip excessively from the brush when you remove it from the can.
Step 8
Slowly stroke the brush across the treads in the direction of the grain. Overlap the strokes at the edges for a complete, uniform application. Allow the polyurethane to dry according to the manufacturer's instructions.
Step 9
Sand the treads gently with 120-grit sandpaper. Work gently to remove only the fuzzy fibers on the surface of the wood. Wipe the sanding residue with a clean, lint-free rag.
Step 10
Apply another coat of polyurethane to the treads. Allow it to dry. Sand the surface with 120-grit sandpaper, and thoroughly wipe all residue from the treads. Repeat the process again for a final coat of polyurethane. Do not sand the final coat. Allow the polyurethane to dry thoroughly before you allow any foot traffic on the treads.
Tip
You can use oil-based polyurethane in place of water-based, but realize that oil-based polyurethane requires at least 24 hours to dry, and it also emits noxious fumes. Water-based polyurethane dries more quickly and dries clear. It will not yellow with age, and it is also easier to clean from brushes and rags.
Warning
Do not shake or vigorously stir the can of polyurethane. Doing so will produce bubbles in the liquid, which will transfer to your brush, causing an unsightly finish on the wood.
Video of the Day