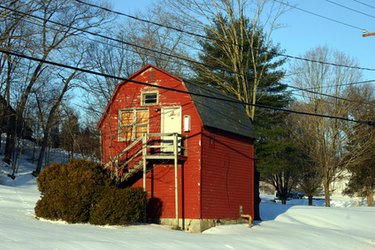
Metal is one of the longest lasting roofing materials available. A well-installed and maintained metal roof can last a half-century or more. A gambrel, or barn roof, is similar in style to a gable roof, with one exception. About half-way down the roof, the pitch changes from the initial gentle slope to a steeper slope, designed to shed rain and snow and provide more space inside the structure of the roof. There are many types of metal sheet roofing available. Consult the manufacturer for specifics on your brand. The general installation procedure is similar for all of them.
Step 1
Tear off any old roofing down to the decking. Replace any sections of damaged decking using material of a similar thickness and type. Cut out the damaged sections with a circular saw and pry them loose to remove them. Cut the patches to fit with a circular saw and screw them to the rafters using treated deck screws. Staple a layer of roofing felt covering the entire roof surface. Cut the edges to fit with a utility knife.
Video of the Day
Step 2
Start at one lower corner along the gambrel end. Install the first sheet with one long edge parallel and flush with the gambrel end and the short end flush with the bottom edge of the decking. Install the next piece side by side, overlapping it according to the manufacturer's recommended distance along the long edge. Drive self-tapping, hex-head, sheet-metal screws with rubber washers through both thicknesses of metal into the decking using a cordless drill or impact driver. Use one screw every 12 inches.
Step 3
Continue adding pieces along the edge of the roof to the far end. Measure and cut a piece to fit flush with the opposite gambrel face using a fine tooth metal blade on a circular saw. Install a row of butyl sealing tape to the top edge of the row of panels.
Step 4
Install the next row up, overlapping it on top of the first row by 2 to 3 inches, pressing firmly down into the butyl tape. Continue adding full height panels as far as possible. Cut enough panels to fill the row, just below the break in the gambrel, so that they overlap the row below and extend to the top of the break.
Step 5
Apply a row of 8-inch-wide metal flashing over the break in the gambrel, 4 inches above and 4 inches below. Nail the flashing in place with 1 1/2-inch roofing nails. Install the cut row of panels overlapping the flashing. Install an end strip of rubber butyl at the top edge of this row, fitting it snugly into the profile of the metal.
Step 6
Install a 10-inch-wide metal flashing, nailed 6 inches above the break and creased along its center, so that the lower portion rides on top of the lower row of panels. Install the upper portion of the roof in the same way as the lower portion, cutting a row of pieces to fit at the peak.
Step 7
Install butyl tape between the top and bottom of each overlapping row and on an end strip at the peak. Repeat the entire process for the other face of the roof. Install a ridge peak covering the gap between the two faces. Press it firmly against the butyl end strip and screw it in place as for the other panels.
Video of the Day