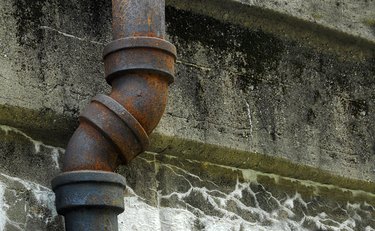
Built to last, cast iron pipes were the standard used to plumb houses into the 1970s. Most of these pipes held up well and did their job for many years. Unfortunately, quite a few are now rusted and showing their age, and replacing them isn't always a realistic option. Many homeowners are finding ways to patch leaking cast iron pipes instead and thereby extending their useful life.
1. Clean Your Pipe First
Video of the Day
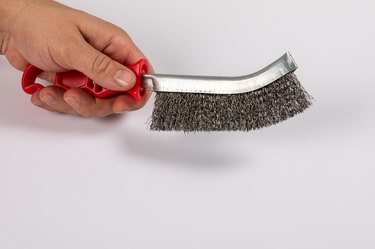
No matter what pipe repair method you choose, the success of the repair depends largely on getting the patching material to stick to your pipe. Cast iron pipes are often dirty and corroded, however, so you'll need to clean the pipe before making the repair. When working in tight spaces or at a joint, it's easiest to use a wire brush or sandpaper to remove the corrosion and clean the pipe. After cleaning, use a vacuum cleaner to remove the remaining dust and debris.
Video of the Day
If you're working on a larger section of pipe that you can easily reach, use a palm sander to make cleaning the pipe faster and easier. Work carefully when using a power sander, however. You don't want to sand a weak area of the pipe too much and turn a crack into a hole. Once the pipe is clean, you have several patching options.
2. Use 2-Part Epoxy Systems
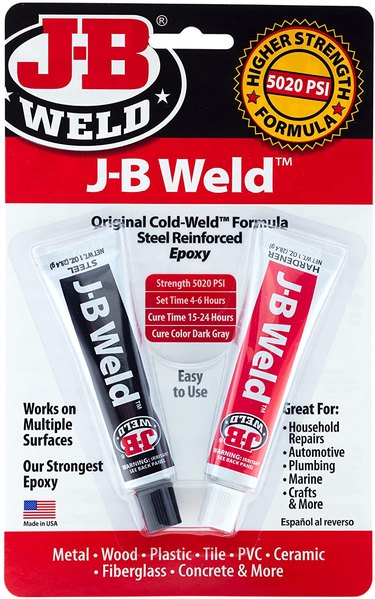
Whether you're fixing a small hole or a leaky joint, two-part steel epoxy systems, like the popular JB Weld, work well. After cleaning the pipe, mix the two epoxy components together as directed and smooth them onto the pipe with a putty knife. If you're sealing a joint, it may be easier to throw on a pair of disposable gloves and smooth the epoxy in place with your fingers. Work carefully but fairly quickly. You want the epoxy to spread smoothly onto the pipe, and it will start to harden if you take too long.
Allow the epoxy to fully cure, as directed. This can take anywhere from a few hours to a full day depending on the specific product you use. When it has fully cured, consider spraying the pipe with a rust-inhibiting primer and then a coat of enamel paint. This will inhibit further rust and give your repair a bit of protection.
3. Use A Repair Bandage
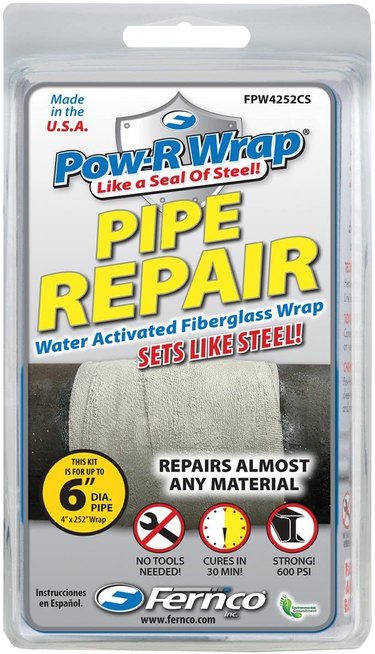
If you're dealing with a hole, a water-activated repair bandage can have you fixed up in about 30 minutes. Bandage repair kits contain two components. The first is a putty that you knead for several seconds until it becomes a uniform color, then press it firmly over the hole.
The second part of the kit is the bandage, which looks much like an Ace bandage that you would wrap around a sprained ankle. In two to five minutes before the putty dries, dunk the entire bandage roll in a bucket of water to wet it. Then, wrap the wet bandage around the pipe and putty, extending the bandage a bit beyond the putty on each side. You want to cover the area with about 12 to 15 wraps of the bandage and keep the bandage taut while you work.
After wrapping, wet your hands and then smooth and squeeze the bandage until resin stops squeezing out of it. It's a good idea to wear gloves while you do this. Then, it's just a matter of letting your repair dry for 30 minutes before you begin using the pipe again.
4. Use Pipe Clamps
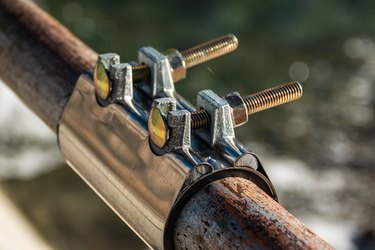
A pipe clamp is essentially a sleeve of pipe with a rubber interior and bolts to secure the clamp onto the pipe. When you remove the bolts, you can open the clamp like a clamshell and then close it over the pipe. When the clamp is properly positioned over the leak, put the bolts back in the clamp and tighten them.
Some clamp manufacturers recommend loosely installing the clamp next to the leak rather than over it and then sliding the clamp into place before final tightening. If so, it's a good idea to lubricate the inside of the clamp and the pipe itself with a little soapy water. This repair isn't difficult, but you must make sure you get the correct clamp size for your pipe.