Things You'll Need
Paint for glass in colors of choice
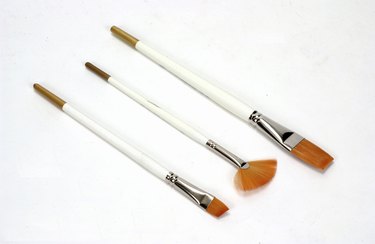
Art paintbrushes
Sea sponge
Stencil
Stencil brushes
Paper plate
Frosted glass is a semi-transparent glass that has been sandblasted to make it more opaque. When used on a lamp shade, it will soften the light and diffuse it more evenly than a clear lamp shade. You can treat it much like clear glass if you decide to paint a design on it or change the color of it. Because of the frosted quality, it will give you different results than if you had started with clear glass, but that will add to the unique quality of your lamp shade.
Changing Color
Step 1
Wash the lamp shade to remove any grease or dirt. This is very important because the paint will not adhere correctly to any areas that are greasy. Dry your lamp shade completely with a lint-free towel or paper towel.
Video of the Day
Step 2
Squeeze paint onto your paper plate. If you want to change the color of your frosted lamp shade to a solid color, use a 1-inch-wide flat art brush to paint the new color onto your shade.
Step 3
Paint in the same direction, overlapping each stroke. Be careful not to overwork each area as the paint will dry fairly quickly. Let the first coat dry and apply a second coat of the same color.
Two-Color Texture
Step 1
Choose two or more colors of paint for a more mottled paint treatment. Squeeze puddles of paint onto paper plates, using one for each color.
Step 2
Dampen a sea sponge in water and wring it out. Dip a corner of it into one of the paint colors and then blot the paint on a clean portion of the paper plate. Dab the lamp shade with random patches over about half of the surface.
Step 3
Dampen another sea sponge and pounce it over the areas not yet covered with new paint. Applying a new paint while the first color is still wet will create a soft look and will make the colors easy to blend. If you want an edgier look, allow each color to dry before applying the next paint color.
Design Stencil
Step 1
Use painters' tape to attach a stencil to your clean lamp shade. Squirt a small amount of paint onto a paper plate. Use a stencil brush and dip just the tip into the paint. Swirl it around to evenly distribute the paint.
Step 2
Blot the brush onto a clean part of the paper plate in order to remove some of the paint. Use circular motions to apply paint in the openings of your stencil. Remove the stencil right away.
Step 3
Clean the back and front of the stencil before reapplying it to another spot on the lamp shade. If you are stenciling with more than one color, be sure to allow each color to dry before applying the next one.
Tip
Practice your design on a piece of paper before stenciling or using a sea sponge on your lamp shade. Use a hair dryer to speed up the drying time for the glass paint if you’re adding an additional color.
Warning
Use a well-ventilated room when working with paint. Clean your brushes right away to prevent paint from drying on them.
Video of the Day