Ladybugs can make interesting pets, and are also useful to keep for gardeners as a natural pest control agent. Making a habitat for them to thrive in is also very simple, and they require a lot less then most species in order to survive.
- Ladybugs
- Aphids
- Plant Stems
- Tall jar/Tank
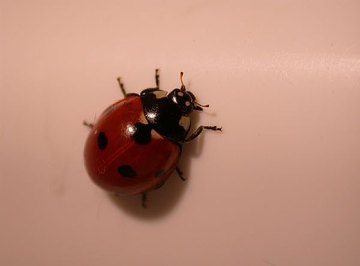
Catch some Ladybugs Ladybugs (also called Ladybirds in some places) are relatively easy to catch and are abundant in the summer months. You should be able to find plenty of them outside on a warm day, and in greater concentrations around plants which have aphids on them. Certain species are known to bite, so knocking them into a container using a stick is often a good method.
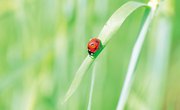
Prepare the Habitat Ladybugs require surprisingly little in order to thrive, only really needing their prey (aphids), a little water and some sticks and branches to shelter under and climb on. This being the case take some plant stems and sticks and stand them upright in the tank. Stems which already have aphids on them are easiest, as they provide both food and shelter. Next spray a fine mist of water over the tank and the ladybugs can be introduced.
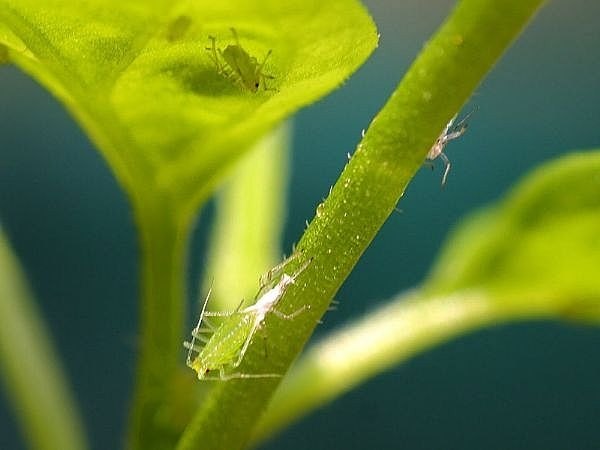
Feeding the Ladybugs aphids are the main food source of the ladybug, and are small green or black bugs which drink the sap from the stems of plants. They are considered a pest generally, and can often be found on rose bushes and other plants. The easiest way to gather some of them is usually to simply cut off the branch that they are on (so long as you have permission that is). This is because they are fragile, and will often be killed if you try to remove them from their stem.
Aside from aphids ladybugs will also eat certain kinds of fruit such as apple segments or raisins. They will generally get most of their water from the food that they eat, although misting their tank every day is a god way to ensure they have enough moisture.
Releasing the Ladybugs When you have observed the ladybugs for long enough, or it is the end of summer, they will need to hibernate and should be released. Generally releasing them around some green stemmed plants is the best thing to do, as they can fly anyway and will soon find a new home for themselves.
Things You'll Need
About the Author
This article was written by the CareerTrend team, copy edited and fact checked through a multi-point auditing system, in efforts to ensure our readers only receive the best information. To submit your questions or ideas, or to simply learn more about CareerTrend, contact us [here](http://careertrend.com/about-us).
Photo Credits
ImageAfter.com/Photos8.com