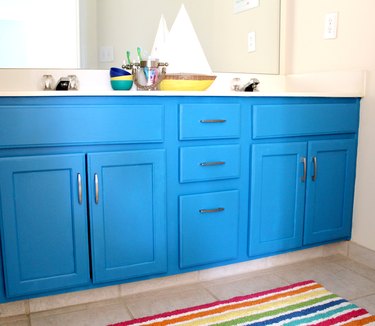
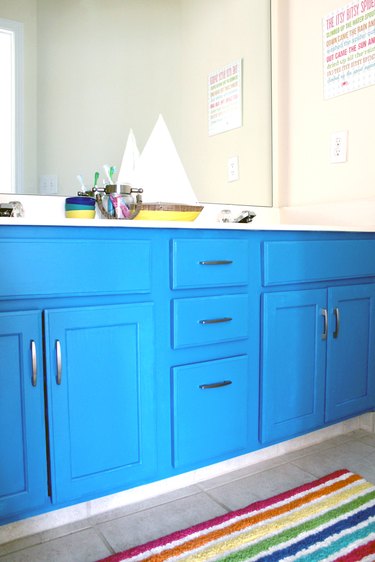
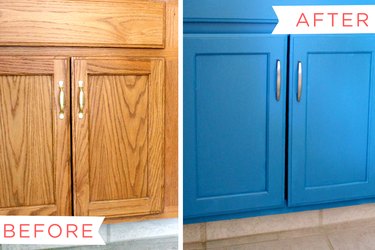
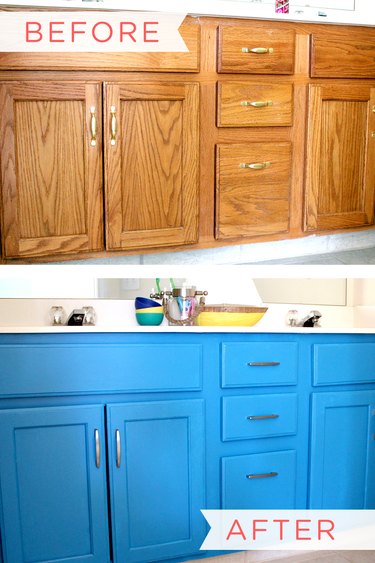
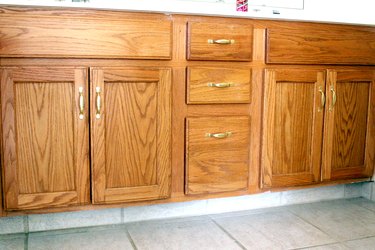
When we moved into our 1990s home two years ago, we were underwhelmed with the basic oak cabinets in our bathrooms and kitchen. They are in good condition, but they simply aren't our style. So, I decided to change things up and paint our kids' bathroom cabinets a bold blue! Below is a step-by-step description of how to paint your oak vanity cabinets. Primarily, this project includes sanding, priming, and painting with a quality enamel paint. These steps can be applied to painting cabinets of any color. And it doesn't require any expensive tools!
Video of the Day
Things You'll Need
Screwdriver
Small power sander
80-grit and 120-grit sandpaper for power sander
Sanding respirator
Sanding block
Latex (water-based) bonding primer
Latex (water-based) enamel paint, medium or high gloss
High quality 1 or 1 1/2 inch angled sash brush
Mini paint roller frame with 2 roller covers
Plastic tarp
Paint tray with two liners
Painter's tape
New hardware (optional)
Step 1
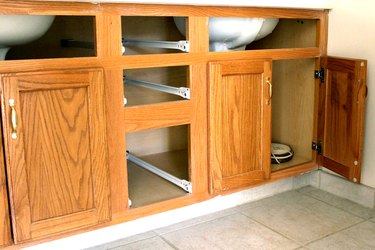
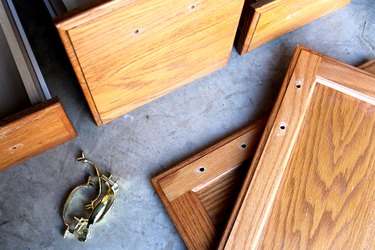
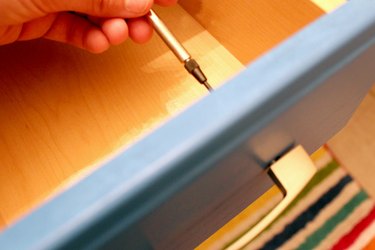
Remove all cabinet drawers and doors. Most drawers will pull out. The doors will need to be removed using a screwdriver.
Video of the Day
Step 2
Remove all hardware from the drawers and doors, using a screwdriver.
Step 3
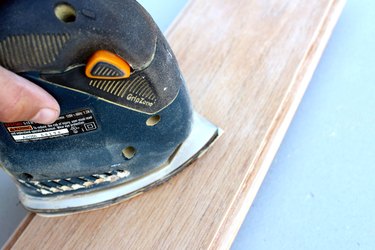
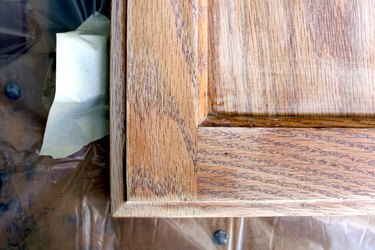
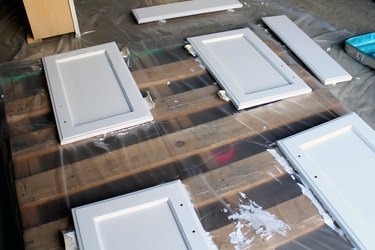
Lay out the drawers and door fronts in a well-ventilated area. Sand all front and edges with 80-grit on a power sander while wearing a sanding respirator. Then, sand with 120-grit sandpaper (this will give a smoother finish). The goal is to remove as much of the gloss finish as possible.
Step 4
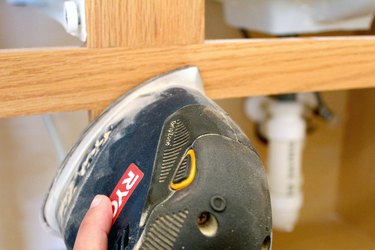
Sand the face frame and the inside of the vanity base cabinet with the power sander, using 80-grit sandpaper, then 120-grit sandpaper.
Tip
Check the material of your vanity cabinet sidewall. If it is laminate instead of hardwood, skip sanding—the primer will adhere without sanding.
Step 5
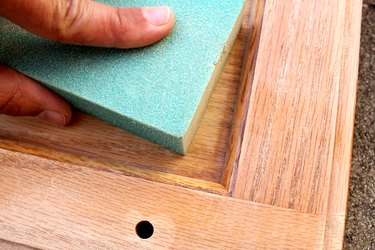
Hand sand crevices, using a sanding block.
Step 6
Using painter's tape, tape off where necessary to protect surfaces you don't want to paint. For this project, I taped off the hinges, though the hinges could also be removed and set aside during painting and reinstalled later.
Step 7
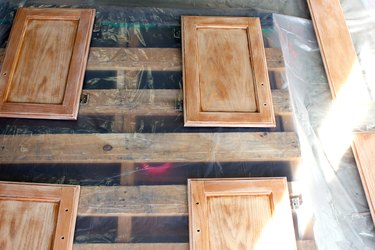
Wipe all sanded wood with a damp cloth, removing any remaining dust. Lay out the pieces in a garage or workspace over a plastic tarp.
Tip
Primer will cover most of the wood grain in this method, but a little may show through. If you prefer invisible wood grain, apply wood filler and sand before priming.
Step 8
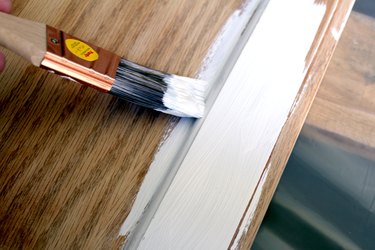
Using an angled sash brush, apply bonding primer using angle brush to all edges and crevices on the cabinets and doors. For the best finish on your cabinets, do not skip this primer step! The primer adheres to the wood and covers a lot of the wood grain, and serves as a bondable surface the paint will adhere to.
Tip
If you are painting white or light cabinets, white primer is perfect. If the final color will be black or dark, request a tinted dark primer at your local hardware store.
Step 9
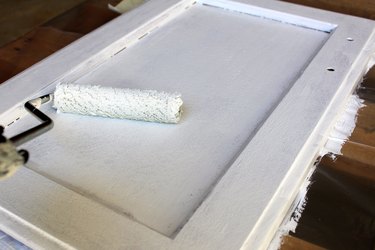
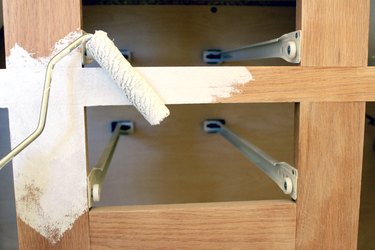
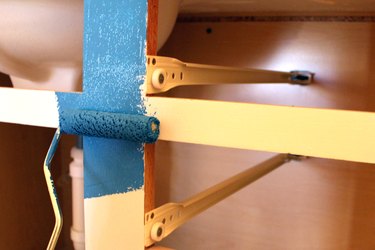
Paint flat surfaces with a mini paint roller. Roll over brushed areas when possible to eliminate brush strokes and give the same roller texture all over.
Step 10
Use a roller brush to also apply primer to the face frame on the vanity base cabinet.
Tip
If you are reusing the brushes the next day to apply the same color, you can skip washing them. Place the brushes in a plastic bag, seal, and store overnight in refrigerator to prevent the paint from drying.
Step 11
Dry and apply a second coat of primer, repeating steps 6 through 8. Adding two coats of primer is key to minimizing the appearance of the wood grain. The wood should be fully covered with primer at this point in the project. Allow to dry according to primer directions, and wash your brush and roller covers (some people choose to simply discard the used roller covers).
Step 12
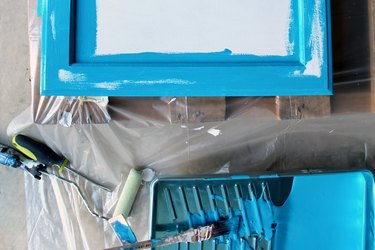
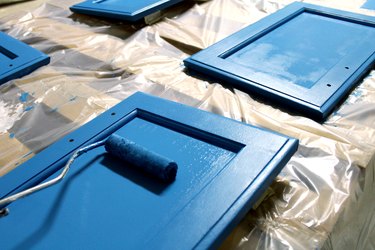
Now for the fun part! Apply enamel-based paint to edges and crevices of the cabinets and doors, using the angled sash brush. Most experts advise using a medium or high gloss enamel on bathroom cabinets, which are washed often.
Tip
Oil based enamel paint can be used instead of water-based, but will have a longer drying time. And make sure you have good ventilation if you use an oil-based paint, due to the fumes
Step 13
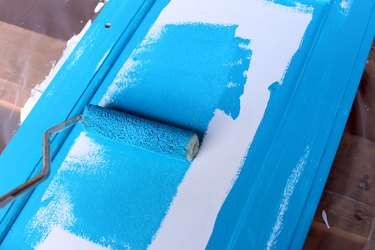
While the paint is still wet, apply enamel paint to the flat surfaces, using a roller. Pass the roller over the brushed areas, too, wherever possible, to eliminate brush strokes and leave the entire cabinet with the roller texture.
Step 14
Also use the roller brush to apply enamel paint to the face frame of the vanity base cabinet.
Step 15
Allow the first coat to dry completely. Then, very lightly sand the dried first coat with 120-grit sandpaper and wipe clean. Then, repeat brush and roller steps 10 through 12 to apply a second coat of paint. The light sanding after the first coat helps the second coat adhere better. Allow to dry according to enamel paint instructions.
Step 16
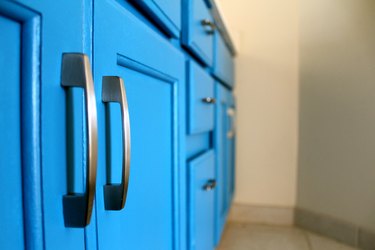
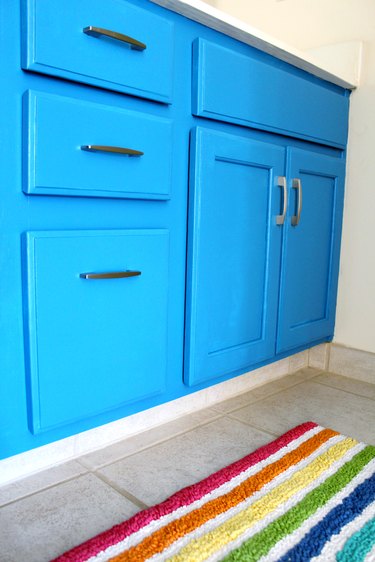
After drying, reinstall cabinet doors and drawers. Add new drawer hardware or reinstall the previous handles.
Tip
Check the paint instructions on the side of the can for cure time. Often doors can be reinstalled, but should not be washed with soap and water for up to a month.
Paint is the perfect way to refresh bathroom cabinets on a budget. We spent under $100 on this project, including new hardware, and the space looks completely different. It was a fun weekend project, and I love that the new paint makes the space feel more personal to our family (and both kids love the blue!).