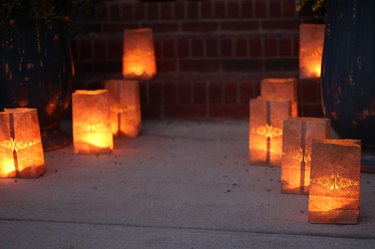
Luminaria candle bags, also known as luminarias, are twinkling paper lanterns that add a festive touch to your decorating scheme and look especially lovely in the fall and winter. Some have lit candles inside to provide the light, but these eventually burn out. More importantly, though, these present a fire hazard, so you will want to find safer ways to light up your luminarias.
Tea Lights in Paper Bags
Video of the Day
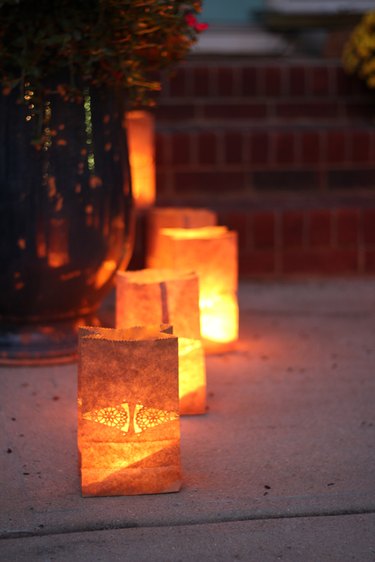
Traditional luminarias are usually made with white paper bags, and you can use them indoors and outdoors. Safety is the most important consideration with these, and it is advised not to use candles with flames in luminarias placed indoors or outdoors near grass, trees or plants. Even if you think it is safe, burning a candle in a luminaria bag is still not a good idea.
Video of the Day
A better option is to swap the lit candles for tealights. These are small, easy to light and inexpensive; some include their own built-in holders. Cheap ones will usually not last longer than a season and can be tossed in the trash when you no longer need them. If you want a light that will last longer, look for LED tealights. These are a bit more expensive, though.
Luminaria Candle Bags
Luminaria candle bags with their own lights are always the most accessible option since you don't have to buy things separately. You can buy luminaria bags at Michael's and other craft stores. Michael's sells glass ones with LED lights inside as well as metal ones, or you can buy plain white paper bags and decorate them yourself. It is easy to make your own luminaria candle bags, but they might not last longer than one season if you make them from paper bags.
How to Create Safe Paper Bag Luminarias
Things You'll Need
Paper bags
Battery-operated candles
Scissors or pinking shears
Decorative hole punch
Tape measure
Pencil
Sand
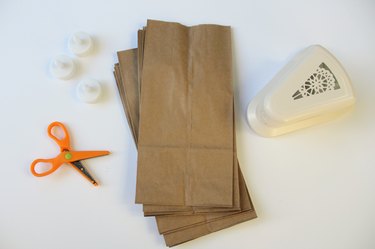
Step 1: Collect Your Supplies
You'll need scissors or pinking shears, paper bags, tealight candles, a tape measure, a pencil, sand and a hole punch. Again, you should use battery-operated tealights if possible.
Step 2: Cut the Bag
Measure the bag and cut it with your scissors or pinking shears.

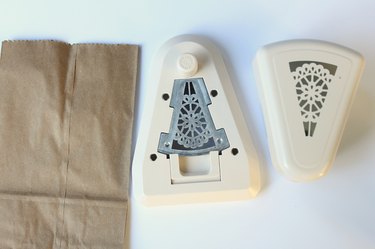
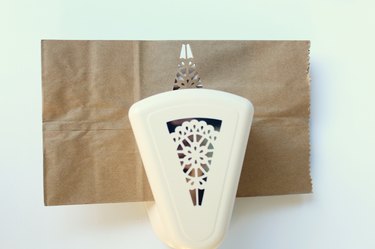
Step 3: Punch Out Designs
You can use a hole punch to punch out designs that let the light shine through.
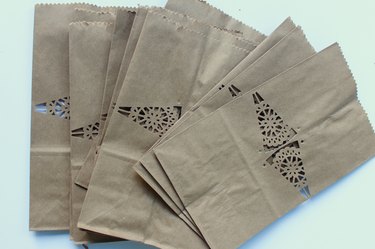
Step 4: Add More Patterns
Continue to use the punch to create designs on your bag.
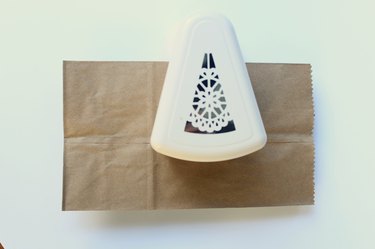
Step 5: Continue the Pattern
Continue using the punch to add patterns to the bag as you see fit.
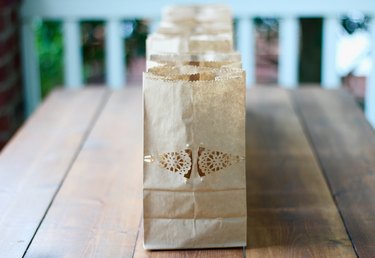
Step 6: Collect Your Bags
Collect all of the luminarias you made in preparation for displaying them.
Step 7: Fold the Bags
Fold every bag at the top, open them and pour in about 1 cup of sand.
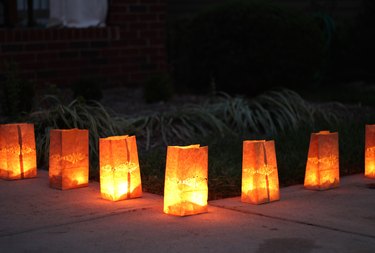
Step 8: Light the Luminarias
Place the tealights on top and place the bags on flat surfaces along your home's pathways and porch. You can also use luminaria bags inside. If it rains or snows, you need to bring those paper luminarias inside as soon as possible.
DIY Reusable Luminaria Candle Bags
To make reusable luminaria candle bags, collect same-size large metal juice cans and remove the labels. If you want to create many of them, you can collect cans that are the same size and group them or alternate them as you like. If you want to punch holes in the cans, you will probably need a metal hole punch. You can draw on the designs first with a marker and then punch out the holes. Make sure you punch out the holes before proceeding to the next steps.
The plain metal finishes on cans make for fine-looking, rustic luminaries, but you can try something different if you like. You can easily paint them with flat paint; spray paint is the quickest, but you should do this in an area away from children and pets. Once the cans are all dry, pour in enough sand to weigh them down and place your tea candles right on top of the sand. Don't put the tealight too close to the top of the can because the light won't be evenly dispersed, and the light could fall out.