The vintage Sunbeam coffee maker is ubiquitous in office settings, where caffeine concentration often trumps palatability. If you want the best coffee it can offer, no matter whether you're at the office or home, you are best advised to retrieve it as soon after it brews as possible or even while it brews, and Sunbeam provides a way to do that. Don't worry if you're a late riser or you have an important meeting because you can program the coffeemaker to brew when you get up or when the meeting ends.
Sunbeam Coffee Maker Basics
Video of the Day
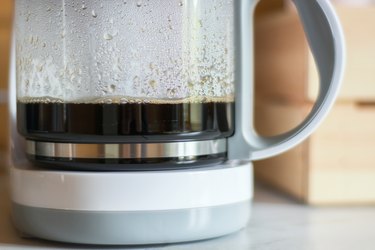
A Sunbeam coffee maker is basically an automatic pour-over device, so the concept behind it is simple. When you plug it in and press the Start button, it heats the water in its reservoir to the boiling point, then it sprays the boiling water over the ground coffee in the filter strainer just below the reservoir. The water seeps through the grounds, absorbing their coffee goodness, and drips into a pot kept warm by a hot plate for up to two hours past the actual brewing process to ensure a steaming brew for your enjoyment.
Video of the Day
Brewing a Cup of Coffee
According to the instructions Sunbeam provides with its 12-cup coffee makers, which also apply to the Sunbeam 4-cup coffee maker marketed under the Mr. Coffee label, you begin the brewing process by filling the reservoir with enough clean water for the number of cups you want to make, keeping in mind that the quality of the water determines the quality of the coffee. You then lift the filter basket lid, drop in a basket style filter and fill it with the appropriate amount of ground coffee. Sunbeam recommends 3 tablespoons for 4 cups, 6 1/2 tablespoons for 8 cups and 9 tablespoons for 12 cups, but add more if you prefer stronger coffee.
You have the option to brew the coffee immediately, in which case, simply press the ON button or switch and wait until the decanter, which you have already placed on the hot plate, to fill. If you want to brew the coffee later, press the DELAY BREW button and the coffee maker will start brewing at the preset time.
If you want to snag a quick cup of coffee while brewing is in progress, press the PAUSE & SERVE button at any time. Brewing will stop for 30 seconds to give you time to pour coffee from the decanter.
Sunbeam Coffee Maker Fresh Brew Timer
When you plug in your Sunbeam coffee maker for the first time, you need to set the clock. To do this, press the HOUR button until the correct hour appears, then repeat with the MINUTE button.
You set the delay brew timer by holding in the DELAY BREW button and selecting the time using the HOUR and MINUTE buttons. When you activate delay brew by pushing the DELAY BREW button once, a light will illuminate and stay on until the preset time arrives and brewing is completed. Press the OFF button to deactivate the DELAY BREW feature at any time, and the light will go off.
Cleaning the Sunbeam Coffee Maker
Always unplug the coffee maker and empty used coffee grounds immediately after brewing. Soak the filter basket, decanter and decanter lid in hot water and mild dish soap. Never use abrasive cleaners on these parts.
To decalcify the machine, fill the reservoir with a 50/50 solution of vinegar and water or the Sunbeam cleaner, put a clean filter into the basket and run the machine through three brewing cycles, returning the cleaning solution to the reservoir at the end of each cycle. Finish off by replacing the cleaning solution with clean water run the machine through one more brewing cycle.