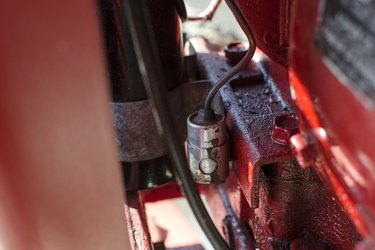
A condenser is part of the ignition system used on most small engines. The condenser is physically the same as a high voltage capacitor used in other types of electrical circuits. The small engine condenser stores a high voltage charge. A set of contacts are used to release that charge to the spark plug. If the condenser malfunctions, the small engine will not run. Various small engines have different locations for the condenser. Use the engine's specifications to remove the condenser from your particular make and model.
Step 1
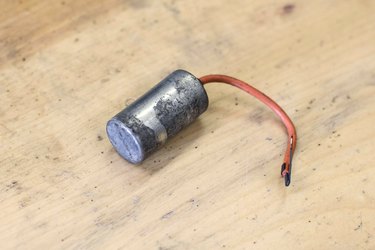
Remove the condenser from the engine. Place the condenser on an insulated wooden surface such as a workbench. A metal surface may cause the test to fail. You will note that there is a small metal connector located at the top of the condenser. This connector is the "hot" or power connection. The metal case of the condenser is the ground point.
Video of the Day
Step 2
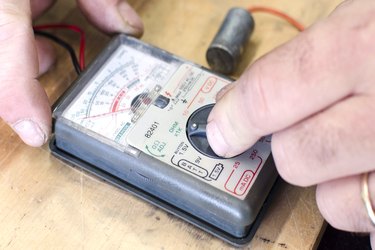
Switch the volt ohmmeter to the ohms position. Place the red lead into the "ohm" connector on the meter. Insert the black lead into the "com" or common connector on the meter.
Step 3
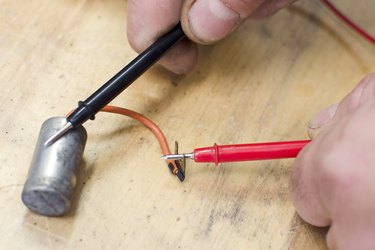
Touch the red lead to the hot connector on the condenser. Place the black lead to the metal case or ground point on the condenser. The meter's deflection needle should have jumped slightly to the right. The needle may also slowly rise in the right hand direction. Hold the leads in place for 15 seconds to 20 seconds. This action places charge to the condenser.
Step 4
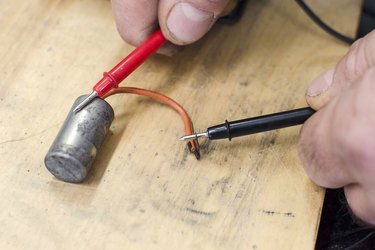
Remove the leads and reverse the placement to the condenser. In other words, move the red lead from the hot connector to the metal case, and move the black lead from the metal case to the hot connector. At the moment where both leads are touching the correct points, the meter should jump towards the right. This action discharges the condenser.
Step 5
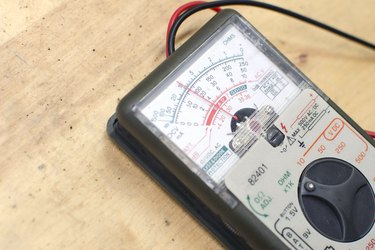
Movement from the meter's needle indicates the condenser is good. If no movement was indicated on the meter in either circumstance in Step 3 or Step 4, the condenser is bad and must be replaced. Retest the condenser several times for a consistent reading.
Video of the Day