Whether for flyers, brochures, booklets or cards, printing multiple pages per sheet in Word 2013 takes the guesswork out of lining up each page of text. Rather than use columns that can fall out of line during editing, this method splits up each page on screen so you can edit your document just like any other Word file. When you're ready to print, Word sends the printer two pages at once, fitting both on a sheet of paper, ready to be folded.
Step 1
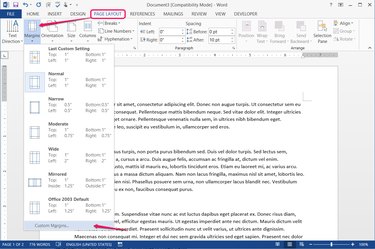
Open the "Page Layout" tab, press "Margins" and click "Custom Margins."
Video of the Day
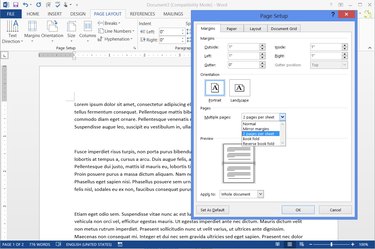
Step 2
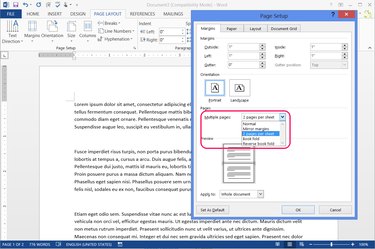
Select "2 Pages Per Sheet" from the Multiple pages drop-down menu to create a single-sheet document that folds in half, such as a greeting card. If you're making a multi-sheet booklet instead, pick "Book Fold" to automatically print pages in the order necessary for binding.
Step 3
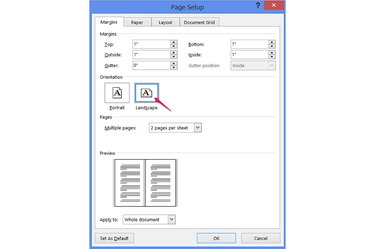
Choose the "Landscape" orientation to make a document that folds in half lengthwise, like a regular book. Don't be fooled by the terminology, which refers to the orientation of an unfolded sheet of paper -- despite being called "Landscape," your booklet will end up with each page taller than it is wide. For the opposite, a booklet that opens vertically, choose "Portrait."
Step 4

Adjust the margins for all pages of your booklet using the preview image as a guide. Since you'll be folding your paper in half, the "Outside" and "Inside" margins are counterintuitive, so keep an eye on the preview. The one unique margin when printing a folded document, "Gutter," affects how much space is left blank for binding. When simply folding a sheet of paper in half, you can safely leave the gutter set to "0."
Step 5
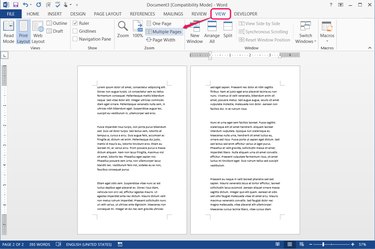
Click "OK" to set the page layout. While working on a folded document, each page in Word represents a single page in the final document, not an entire sheet of paper. Open the "View" tab and press "Multiple Pages" to see two pages at once for a better representation of how your final product will look.
Step 6

Open the "File" menu and press "Print." For a basic folded document with only two inner pages, leave all the settings on their defaults and click "Print."
For booklets with printing on both sides of each page, click "Print One Sided" to pick an alternative. If your printer supports duplex printing, select "Print on Both Sides" to automatically print both sides of each page. If you don't see this option, your printer does not support duplex printing. Instead, choose "Manually Print on Both Sides" and reload each sheet manually, when prompted, to print its backside.
Video of the Day