Jupiterimages/BananaStock/Getty Images
Kids love dinosaurs There's just something about those big, toothy creatures they find irresistibly exciting and fascinating. If your child is a dinosaur fanatic, go with the flow and indulge his passion with a dinosaur-themed party. Stage it outdoors, pack it full of dinosaur-related physical activities, and let your little dinosaur lover and his friends play dino games to their hearts' content.
Easy Dinosaur Mask Craft
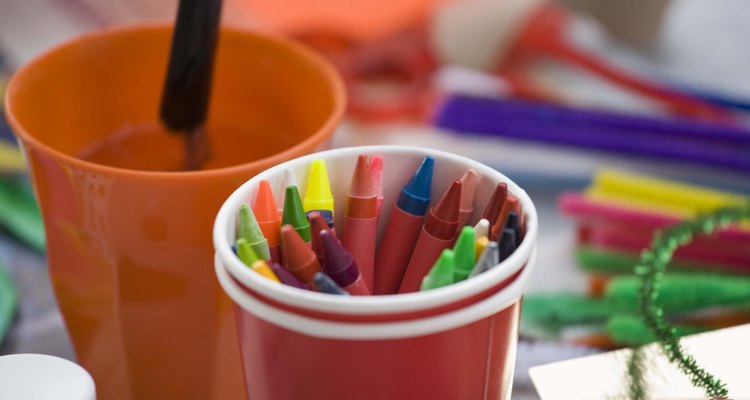
Provide materials for the kids to make dinosaur masks to wear during the party. Download and print free templates from SparkleBox.com (click "Topic," "Living Things," "Dinosaurs"). The kids can color and decorate the masks with items such as crayons, markers, glitter and colored feathers. Also, help each child staple a string, or a rubber band cut in half, to either side of the mask to attach it to his head.
Active Games
Put fake bones or large bone-shaped dog biscuits into a sandbox (pile sand into a wading pool or onto a large sheet of plastic). Give the children sand pails and shovels, and send them off on a dinosaur bone excavation. Give a prize to the child who collects the most bones.
Pin the tooth on the T-rex! Buy or draw a poster-sized picture of a toothy dinosaur head with its mouth open and one tooth missing. On white poster paper, draw and cut out a bunch of pointy teeth and put a push-pin through each one. Give the teeth to the kids to put in the T-rex’s mouth one by one while they are blindfolded. The kid who comes closest to filling in the missing tooth wins This game definitely needs to be supervised to avoid pin-related injuries--for total safety, put a piece of double-sided tape on the back of the tooth cut-out and make it a "tape the tooth on the T-rex" game.
Fill a dinosaur piñata with dinosaur-shaped confetti and wrapped dinosaur gummy bears, toys etc. Make “clubs” from small tree limbs or whiffleball bats for kids to use to break the piñata.
Hold a “dinosaur hunt,” using small plastic dinosaur figures or plastic dino eggs hidden around the yard. Give every child an inexpensive straw pith helmet and toy binoculars so they can look like and feel like real fossil hunters. You can buy a set of helmet and binoculars for under $3 from online party supply stores, so they're affordable enough to send home with the kids as party favors.
Group Competition Games
Have a dino-egg relay race; instead of the usual egg-in-spoon version, buy a few novelty plastic claws (the kind that grip using “fingers” when you squeeze the trigger apparatus on the handle). Get the kids to grip an egg in the “raptor” fingers before hurrying down the racecourse without dropping the egg. Award prizes to the first team to complete the required number of relay laps.
Hadrosaurs and raptors tag is a version of the old rabbit and hunter game. One child is a fierce Velociraptor and the others are the meek hadrosaurs trying to hide from him. The game requires all the hadrosaurs to run from base to base while the Velociraptor tries to tag them with both hands. (Choose three home bases or safe zones where kids can rest between bouts of running.) Everyone who gets tagged becomes a Velociraptor and helps tag the other kids until all are tagged. The last one tagged wins the prize.
Hold a dinosaur quiz game. Divide kids into teams and ask dinosaur trivia questions. The first group to get 10 correct answers wins a prize.
Party Favors
Put toy dinosaurs inside large plastic eggs. Give kids decorating tools such as paint pens, glitter pens and stickers so they can decorate their own dino egg to take home as a party favor.
Related Articles

Activities for Kids' Birthday Parties ...

Knight Party Game Ideas

Fun Easy Easter Games for 3 Year Olds
Horse-Theme Party Games
Pokemon Party Games
Second Grade Holiday Party Games

Party Games for Kids & Parents
Prize & Gift Ideas for a Casino Theme ...

Youth Activities to Teach Humility

Valentine's Day Party Games for School- ...

Fun Running Games for Kids

What Do You Get Your Grandpa for His ...

Mardi Gras Party Games for Kids

Outdoor Games to Play at a Picnic
Ideas for Junior High Sunday School ...

Party Games for 10-Year-Olds

How to Tell Him He Is a Good Father
How to Make a Pinata With a Balloon
Children's Games to Teach About ...
Butterfly Birthday Party Games
Resources
Photo Credits
Jupiterimages/BananaStock/Getty Images