Things You'll Need
Level
Finishing nails
Nail gun or hammer
Miter saw
Wood glue
Caulk
Paint
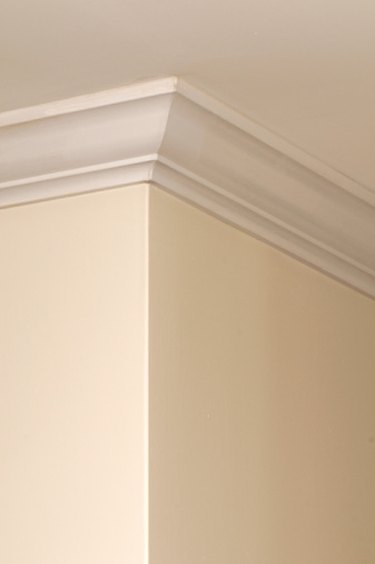
The idea of installing crown molding can intimidate some do-it-yourself homeowners. Unlike baseboard molding, crown molding sits at an angle on the wall, making cutting and nailing more difficult than the straightforward, level baseboard. This task becomes even more complicated when the ceiling is uneven, leaving extra gaps as you try to install the crown molding. Careful installation and a little caulk can fill in gaps and make the area look its best.
Step 1
Move along the ceiling with your level until you find an uneven area. Mark the location of each uneven area with a pencil so that you can easily identify your problem areas.
Video of the Day
Step 2
Install as much crown molding as you can on the even areas of your ceiling. Drive 4d finishing nails into the flat areas of the molding every 6 inches, using a nail gun or hammer.
Step 3
Cut crown molding as necessary with a miter saw. Turn the crown molding piece upside down in the saw, so that the flat edge designed for ceiling rests against the table of the saw and the edge for the wall sits tightly against the vertical fence section.
Step 4
Slice through the crown molding at a 45-degree angle, set to the left if you are working counter-clockwise around the room and to the right if you are working clockwise. Install the cut pieces as well, using wood glue to help hold the joints together, until you reach the uneven area.
Step 5
Cut crown molding pieces to fit in the uneven areas as before. Line up the wall section of the molding with previous pieces; because of the unevenness, there will be small gaps along the ceiling section.
Step 6
Drive nails through the wall section of the molding as before. On the ceiling section, spread wood glue along the flat area and press it against the ceiling as you install the nails. This will close some small gaps.
Step 7
Caulk any remaining gaps in the ceiling molding with paintable caulk and a caulk gun. When it's dry, paint the caulk to match the ceiling, helping to blend it.
Tip
If you have excess glue or caulk, clean it up immediately with a damp sponge. Sand glued joints between pieces and against the ceiling with fine grit sandpaper to flatten the area.
Video of the Day