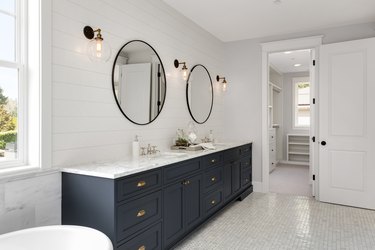
Many larger bathrooms have a specific vanity area surrounding the sink. This is a great place to tweak your look with the bonus of your medicine cabinet mirror being right in front of you. Many of the vanity tops are made from acrylic.
Acrylic is known for being a long-wearing material, but even so, over many years, it can start to show the wear and tear of everyday life. Older acrylic can become discolored and show scuff marks and scratches.
Video of the Day
Video of the Day
Acrylic vanity tops can be replaced, but this tends to be a rather expensive renovation. You can also complete a do-it-yourself refinishing of an acrylic vanity top at home. Miracle Method notes that refinishing an acrylic vanity can extend its life by 15 years or more. Ensuring you do adequate prep work in addition to taking the correct safety precautions can ensure you get the results you want.
What You'll Need
The first thing you should think about when attempting any DIY at home is safety. There are certain important safety steps when you're refinishing an acrylic vanity top that should not be skipped. The paint for this job can be dangerous if used incorrectly. Make sure you keep the room well ventilated and wear a face mask and a pair of gloves to protect your respiratory system and skin.
You will also want to protect the rest of your bathroom. Lay down a floor cover and use masking tape to conceal any areas of the vanity top you don't want painted.
Refinishing an acrylic bathroom unit with professional-looking results is all in the prep work. You'll first need fine sandpaper to sand down the vanity to make the surface grippy enough for the new finish. You'll also want an acrylic primer to layer under your paint. Finally, you'll need the paint of your choice. Miracle Method claims that the best material for refinishing acrylic units is acrylic enamel.
Acrylic Vanity Prep
You first want to make sure your vanity is as clean and non-greasy as possible. Any remaining oils will prevent the paint from adhering properly. Wash down your entire vanity with regular dish soap. Once it's rinsed and clean, dry it off thoroughly.
Sanding down the surface of your acrylic vanity is the best way to help the new paint stick to acrylic, according to U.S. Mobile Home Pros. After sanding, wipe away any dust and dry thoroughly once more.
Once your vanity is clean, dry and sanded, apply a coat of bonding primer. This can be done with a brush or small roller. Make sure you give the primer enough time to dry according to the product's instructions.
Refinishing an Acrylic Vanity Top
You can apply your new acrylic enamel paint with a brush and roller or from a spray can. A spray can may seem like an easier option, but it can result in more mess. Taking time with a roller and paint can yield an even finish that's more precise in application. Rollers tend to be a better option than brushes too, as they are less prone to streaking.
Apply a full, even layer of your acrylic enamel paint. Allow it enough drying time (indicated on the product's packaging) and check for coverage. It's likely you'll need to apply two or possibly three coats to achieve full opacity, making sure you let the paint dry completely between applications. Once you're finished, leave at least a day before you start using your acrylic vanity top again.