Alkaline phosphatase (ALP) is a protein found in all cells of your body.
.
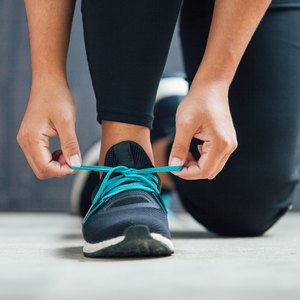
If you suffer from sweaty feet, you're not alone — and there are a number of solutions out there, from antiperspirant for feet to breathable shoes for work and the gym..