Bose offers a wide variety of home audio solutions, including packaged speakers and subwoofers. These systems, like the Companion 3 for example, are ideal for use in small spaces like computer workstations. But what can you do when they malfunction? Bose recommends bringing malfunctioning items to authorized repair facilities, but professional repairs can become expensive. Many small speaker and subwoofer malfunctions can be addressed at home, but only if you know how to properly disassemble the system. With the right tools and technique, you can disassemble a Bose Companion 3.
Speaker Disassembly
Video of the Day
Step 1
Unplug the Bose Companion 3 from the power outlet and disconnect all cables connecting the speakers together.
Video of the Day
Step 2
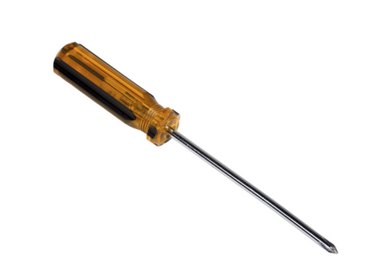
Unscrew and remove the four screws connecting the speaker to its column with the Phillips screwdriver. Remove the base and set it aside.
Step 3
Pry the plastic cover from the back of the speaker column by hand and set it aside.
Step 4
Unscrew the screw holding the speaker column to the speaker with the Phillips screwdriver. Remove the speaker column and set it aside.
Step 5
Insert the standard screwdriver in the gap between the speaker cover and the speaker body and twist it 90 degrees to loosen and pry it off. Repeat this process with all four sides to remove the speaker cover.
Step 6
Unscrew the four Torx screws holding the speaker cone in place with a Torx driver and remove them to access the speaker cone and interior of the speaker.
Subwoofer Disassembly
Step 1
Unscrew the five Torx screws in the back of the subwoofer with a TORX driver. Remove the back panel of the speaker.
Step 2
Peel off the large black Bose sticker to expose the three Phillips-head screws attaching the inner panel to the body of the subwoofer.
Step 3
Unscrew the three screws with the Phillips screwdriver, remove the inner panel and set it aside.