A solenoid valve is a widely used gas and liquid regulator fitting for plumbing and air conditioning systems. It uses an electrical signal to actuate an internal diaphragm that moves up when exposed to electricity. This exposes the openings in the valve leading to the outlet, and then the diaphragm closes once the electricity is shutoff via an internal spring that pushes the diaphragm back down. However, the electrical signals need to be tested on occasion to make sure that a strong enough current is being supplied to work the valve.
Step 1
Turn the power on to the solenoid valve if it is not already on. The multimeter can only test a live current, as it forms a temporary circuit with the object being tested and does not have an internal battery to avoid crosstalk in its own internal wiring that may corrupt the readings.
Video of the Day
Step 2
Attach the red probe's alligator clip to the red electrical post on the solenoid valve. Without touching the red probe, attach the black probe to the black electrical post on the solenoid valve. If the probes touch while a current is running through the object, that can cause a short circuit in the multimeter's internal fuse.
Step 3
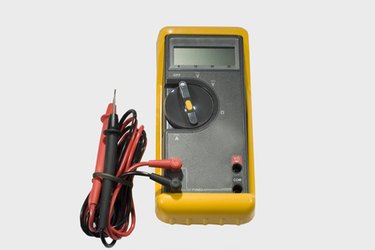
Turn the multimeter dial to resistance and listen for a tone. The tone will indicate that the circuit being tested is complete, and the number displayed will be the resistance in the total circuit in ohms. Turn the dial to VAC for alternating current voltage. The number displayed is the voltage currently running through the circuit.
Video of the Day