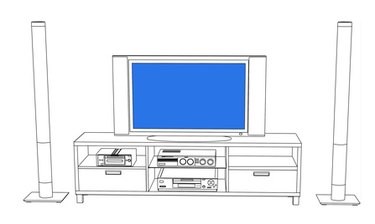
Aeros is the product name for the MX-850 Universal Remote Control. This remote comes with a huge database of codes for different brands and models of hardware, making it easy to set up and configure. You can control just about any IR (infrared) or RF (radio frequency) device with this remote, which has an LCD display giving you access to all your components with the push of a button. Before you begin, you will need to install MXEditor software on your Windows computer.
Step 1
Turn your computer off. Plug one end of the serial cable into the remote, and plug the other end into the serial port on the back of your computer. Turn your computer back on.
Video of the Day
Step 2
Click the desktop icon for MXEditor to launch it. Alternatively, click "Start," then "Programs," and select MXEditor from the programs list.
Step 3
Click "File," then "New." Select the template that most resembles your home theater configuration. You can change all of this at any time, so it doesn't matter which template you initially select.
Step 4
Click "Program," then "Create & Name Devices." Under "Main Page 1," enter the name of each device you wish to control with the remote and click "Save." The order in which device names are displayed here will correspond to the order in which they are displayed on the remote's LCD screen.
Step 5
Click "Program," then "IR Database." Select a device from the drop-down menu under "Devices."
Step 6
Click "IR Data From" and select what type of device you have. For example, if the device is a DVD player, select "DVD."
Step 7
Select the brand of your device from the "Brand" menu, then select the model of your device from the "Model" menu.
Step 8
Point the remote at the device you are programming, then click "Test." If nothing happens, select another model and click "Test" again. Keep doing this until the device turns off, then click "Save."
Step 9
Edit the button labels and positions in the "LCD Button Editor" window until you are satisfied with them, then click "Apply."
Step 10
Click "Next Device" to program the next device on your "Main Menu."
Video of the Day