Things You'll Need
Aluminum foil
Old baker's sheet or pan
Plastic bag
Work gloves
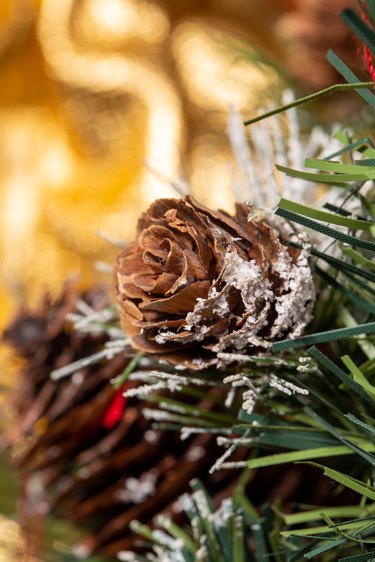
Pine cones make a natural, fragrant addition to your holiday decorating. Added to evergreen boughs, they make centerpieces that bring a touch of "down home" to wreaths and swags. Cones can be gathered in the fall along roadsides after they have dropped from the trees. Unfortunately, those you find are often closed and are not suitable for display, unless you force them to open.
Step 1: Gather Fallen Pine Cones in Autumn
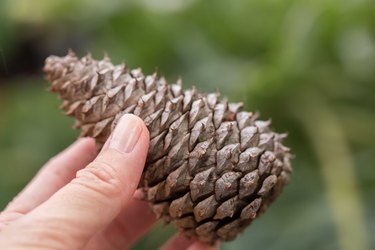
Gather pine cones in the fall once they have fallen from the trees. The most abundant source can be found after the first hard frost and can be found directly underneath pine trees. Gather newly fallen cones. Old pine cones from last year are likely to be rotted and filled with insects.
Video of the Day
Step 2: Shake Dirt and Debris Out of the Pine Cones
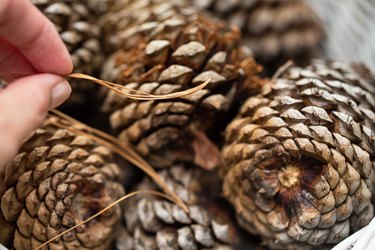
Remove any pine needles or other debris from the cones by shaking them lightly before putting them in your bag. If necessary, gently brush clinging debris with your hands.
Step 3: Protect Your Clothes and Your Work Area
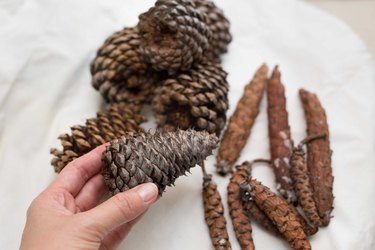
Cover your work area with a layer of old newspaper; put on old clothes before you begin to work with the cones. Empty the bag and remove any remaining dirt or debris on the cones. Choose cones that are well-shaped and show no signs of damage.
Step 4: Prepare the Baking Sheet
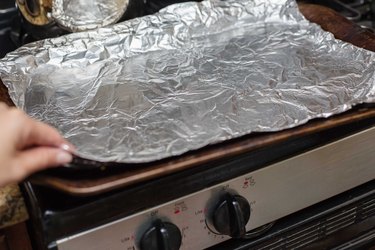
Line an old baking sheet or baking pan with aluminum foil. This prevents the pitch from sticking to your pan.
Step 5: Spread the Pine Cones Over the Pan
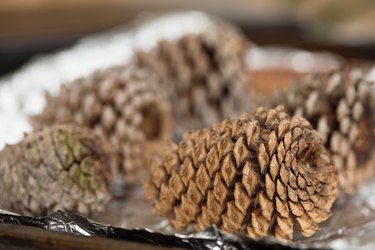
Layer the pine cones on the aluminum foil so that they are barely touching. Ensure that your cones are only one layer deep. If you have more cones than will fit on the bottom of the pan, use two pans at once or save the rest for a second batch.
Step 6: Preheat the Oven
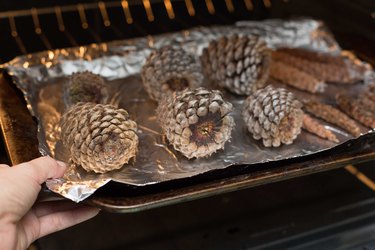
Preheat the oven on its lowest setting. You don't want the temperature to be any more than 200 degrees Fahrenheit. Place the pan of pine cones in the oven to warm them and remove the moisture that causes them to stay closed. As the cones heat, they will begin to open.
Step 7: Bake and Watch
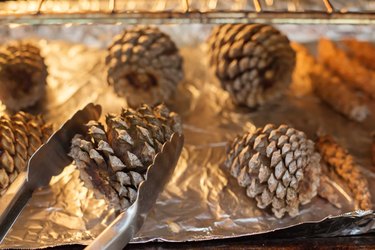
Watch the pine cones carefully and turn them often to prevent burning. The pitch on the pine cones melts and creates a glaze that retains the rich brown color of the cones.
Step 8: Remove and Cool

Remove the pine cones as soon as they are fully opened and allow them to cool on newspapers. Or simply leave them right in the pan while they cool, if you prefer. Use them in craft projects or simply display them in a bowl or bucket wrapped up in a big bow.
Tip
Don't worry about cones that are covered with pitch. This is a sign that the pine cones are fresh and will actually work in your favor when you dry them. Cones that are closed tightly are OK, too. These will open and become glorious cones once you complete the drying process.
Drying time in the oven depends on the oven temperature and the amount of moisture in the pine cones. Watch pine cones closely to determine the appropriate amount of time and keep them from burning.
Video of the Day