Even a slight height difference between adjacent sheets of drywall stands out as a glaring error. Fortunately, the fix for uneven drywall seams is quick and requires only basic drywall hand tools. With a light touch and attention to detail, you can conceal an uneven drywall seam and match the repair area with the surrounding wall.
Step 1
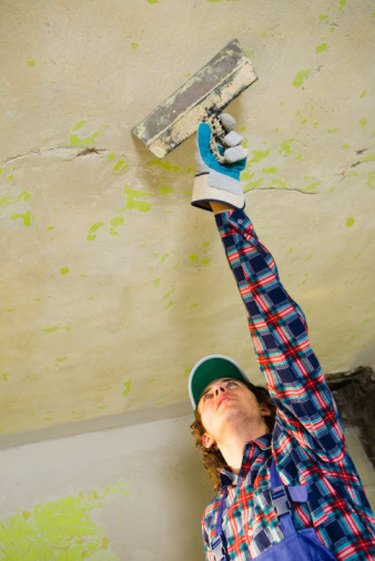
Fill a drywall pan with drywall compound, often called "mud" by professionals due to its consistency. Scoop a mound of compound from the pan with the taping knife; keep the mound near the center and edge of the taping knife's blade. Fill the largest portion of the seam's gap with drywall compound. Press the knife and mound of compound onto the seam and draw the knife across the seam's length. Fill the deepest part of the gap with the first coat; do not attempt to apply a broad layer of compound on the first coat. Allow the coat to dry.
Video of the Day
Step 2
Hold a straightedge over the uneven drywall seam to determine where the seam dips. Use the straightedge to gauge the seam's unevenness at a few spots across the wall. Fill the pan with fresh compound and scoop a portion onto the edge of the knife. For the second coat, position the mound of compound across the breadth of the knife's edge.
Step 3
Press the knife against the wall and a spread a broad layer across the length of the seam, favoring the side that dips. Scoop excess compound from the wall and deposit the excess into the pan. Scrape the knife's blade on the pan's side to remove compound from the knife's edge. Run the knife across the seam to spread and smooth the wet compound. Smooth each side of the fresh layer and taper the edges to create a smooth transition between new compound and the existing wall. Allow the second coat to dry.
Step 4
Dampen a drywall sanding sponge. Gently press the sanding sponge along the edge of the repair area, rotating the sponge in a circular motion. Use the sponge to smooth the repair area's edges and blend its transition with the existing wall. If the new compound forms a peak over the seam, use the sanding sponge to flatten the peak and blend it with the surrounding compound.
Video of the Day