Spring has us jumping for joy over inexpensive Trader Joe's blooms and farmers market bouquets. But let's face it, who can afford to fill their home with fresh flowers every week? In order to satisfy the desire for beautiful bouquets without breaking the bank, fill your vases with faux flowers instead.
Here is a step-by-step guide for creating three different styles of artificial arrangements in your home.
Video of the Day
Video of the Day

Things You'll Need
Artificial flowers (see shopping tips below)
Vases
Wire cutters
Floral wire
Paper towels (or other vase filler)
Step 1: Purchase Your Artificial Flowers
Artificial flowers can be pricey but it is worth the investment and will save you money over time if you are one who loves to fill your home with fresh flowers. Craft stores such as Michaels and Hobby Lobby tend to offer coupons or weekly specials. Other affordable places to buy artificial flowers are discount stores such as HomeGoods or Tuesday Morning. Amazon also has a large selection of affordable faux flowers.
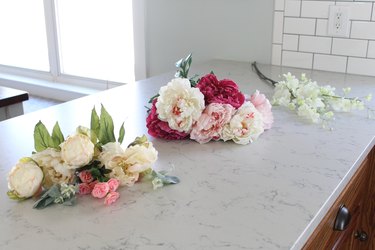
When buying artificial flowers, opt for unique varieties such as peonies, ranunculus, dahlias and hydrangeas. Common flower varieties such as sunflowers, roses and tulips tend to look less real than their artificial counterparts.
Tip
Pre-made artificial arrangements, faux succulents and cacti are also great options to use around the home if you prefer low maintenance decor.
Step 2: Pick Out Your Vases
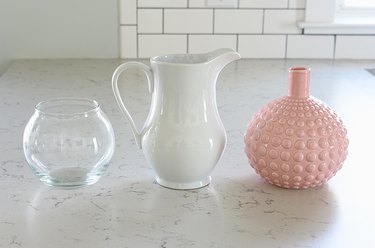
Choosing flowers and vases is a personal preference but it's important to make sure the vase matches the size and style of your flowers.
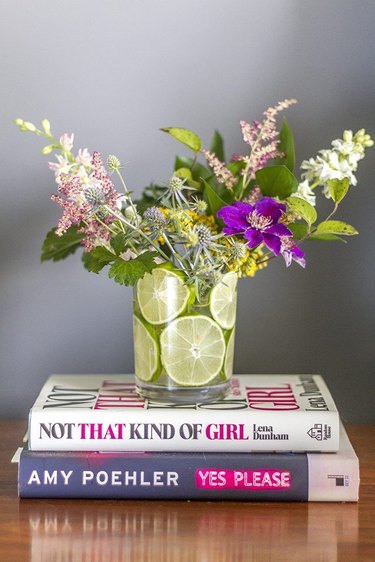
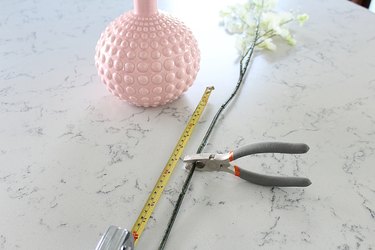
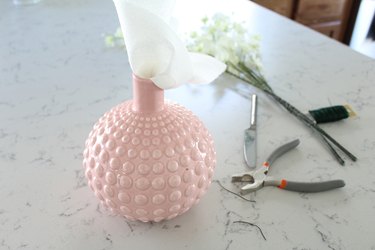
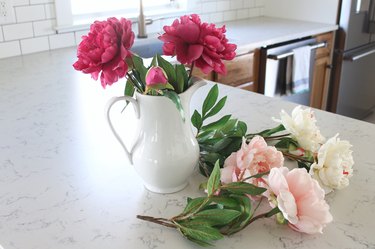
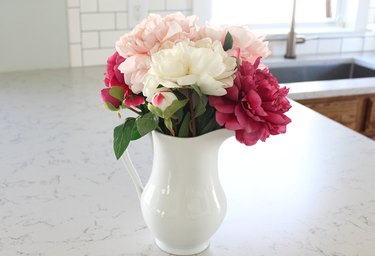
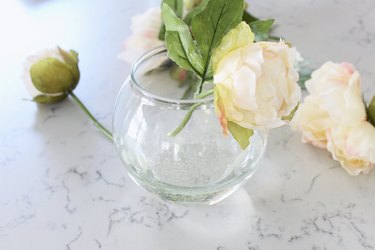
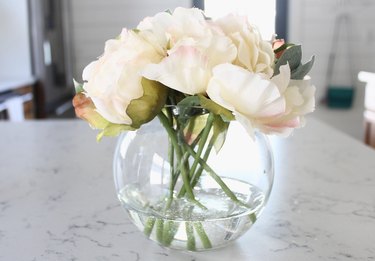
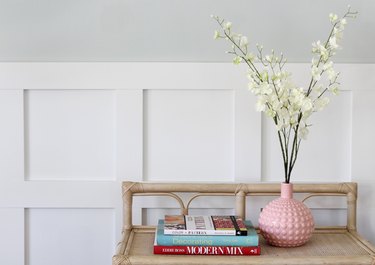
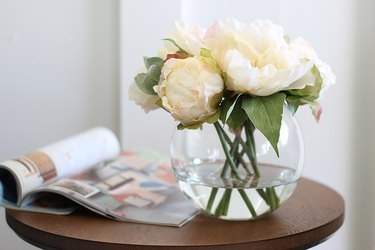
The narrow opening in the pink vase is best for long, narrow branches. The white vase is perfect for a large, full-flower arrangement. The clear vase will hold shorter, clean-stemmed flowers with simulated water.
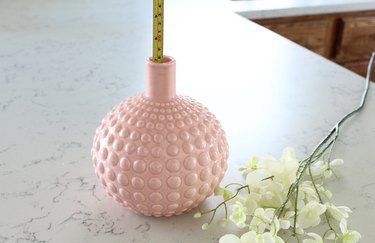
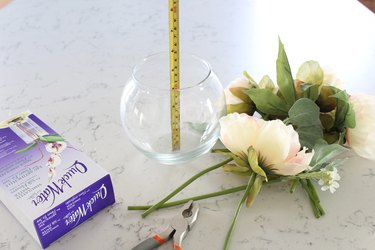
Step 3: Measure Vases to Determine Stem Height
Insert the measuring tape into each vase to determine the height. Decide how much of the flowers will stick out of the vases.
Step 4: Trim Stems to Size
Trim the stems to the desired length using wire cutters.
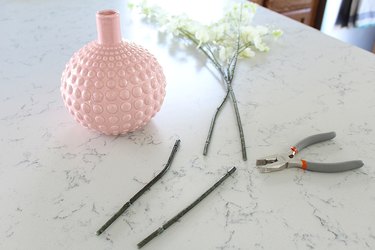
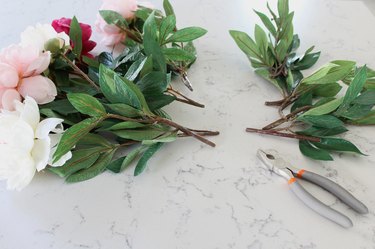
Remove any excess leaves if necessary.

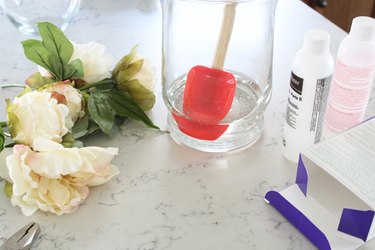
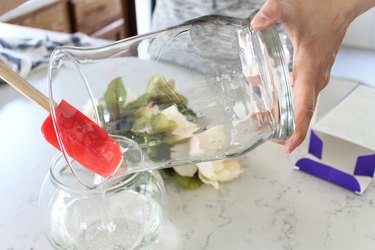
Step 5: Prepare Simulated Water
Mix the simulated water according to the instructions on the package, then poor it into the clear vase.
Step 6: Put Flowers in Vases
Fill the pink vase with paper towels or other vase filler such as marbles or pebbles. This will help stabilize the stems.
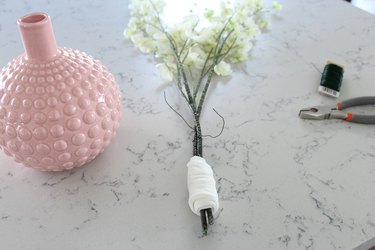
Tie the stems together with the floral wire and trim the excess. Wrap the bottom of the stems with paper towels before inserting them into the vase for added stability.
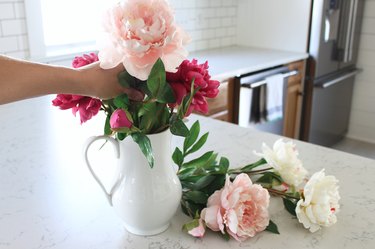
For the white vase arrangement, start adding the flowers one by one. Put the same color flower opposite one another. Then add the rest of the flowers in the same fashion.
With the simulated water mixed, the clear vase is ready for flowers. Carefully place each flower into the water paying attention to the placement of the stems.
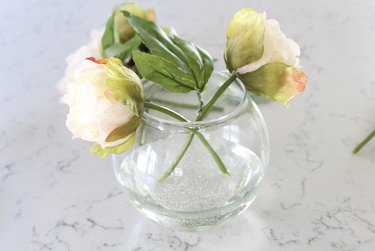
Once all the flowers are in you have about an hour to adjust the placement of the stems before the water begins to harden. The air bubbles will rise to the surface and disappear as the water solidifies.
Step 7: Display Around Your Home
These artificial arrangements are not only beautiful but they will last for years to come with only a little light dusting. Now your home will never be void of flowers and you don't have to throw money down the drain on fresh ones every time.

Want Some Fresh Flower Arranging Ideas, Too?