A chainsaw has a metal point positioned in front of individual teeth on the chain. Each point, known as a depth gauge, determines the amount of "bite" an individual cutting tooth removes as it passes around a section of wood. Depth gauges need adjusting whenever you sharpen your chainsaw. A depth gauge tool resembles a slotted, U-shaped aluminum channel, approximately four inches long. Chainsaw operators use a Stihl depth gauge tool, also known as a filing guide, for making accurate and consistent depth gauge settings.
Step 1
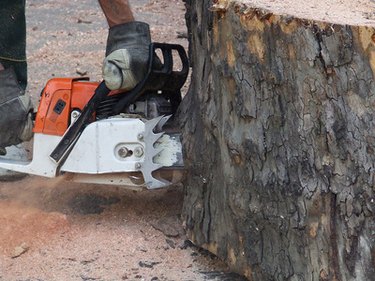
Position the chainsaw on a sturdy work surface with an adequate source of light. Orient the saw so that the tip of the chainsaw bar points toward your left or right.
Video of the Day
Step 2
Lay the depth gauge tool along the top of the chain. Check to see if a depth gauge point appears above the level of the depth gauge tool.
Step 3
Make the point level with the surface of the tool using a flat file. Check each depth gauge on the chain and file each one as needed.
Step 4
Smooth each leading edge of the depth gauges with the file and round the corners back to their original form.
Tip
Use your Stihl depth gauge tool to check depth gauges for correct height each time you sharpen the cutters.
Chainsaw cutters need sharpening after each use.
Warning
A chainsaw with depth gauges set too low may cause personal injury from chainsaw "kickback."
Video of the Day
- Stihl Owner's Manual: Depth Gauges
- Stihl Company: Sharp Advice for Chainsaw Owners
- University of Missouri Extension: Chainsaw Kickback
- Oklahoma State University Extension: Safe Chainsaw Operation
- University of Hawaii College of Tropical Agriculture and Human Resources: Chain Sharpening and Care
- Blount Incorporated: How Do I Set My Depth Gauges?