
How to Remove French Doors

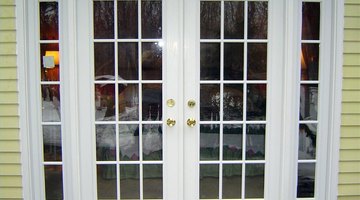
French doors in a home are a popular and attractive architectural feature. Sometimes, however, they need to be removed. This could be so they can be replaced, painted or repaired. This article will show you how to remove French doors.
Things You Will Need
- Ladder
- Screwdriver
- Clear area to lay doors on
- Hammer or mallet (optional)
- Tape (optional)
- Helper
-
Gather all of your materials, and then recruit someone to help you. French doors are heavy, and removing them safely is a two-person job.
-
Use the ladder and screwdriver to remove the top hinge on one of the doors. You may wish to only remove it from the frame and not the door itself. Have your helper hold the door, then carefully remove the bottom hinge. Slowly push the door down into a horizontal position. Gently carry the door and lay it down in a location where the glass is in no danger of breaking.
-
Move the ladder over to the second door. Have your helper hold the door, then carefully remove the upper and lower hinges with the screwdriver. Again moving the door down into a horizontal position, carry the door and lay it near the first.
-
At this point, you may consider removing the framing for the door if you wish to widen the opening, or if you are going to install a new door that is wider than the old one. You will need to knock out the framing with a tool of your choice. If caulking was used to seal the door, you may have to remove this as well.
-
Install your new door, window, or finish off your opening and enjoy your remodeling efforts.
Tip
If you have large panes of glass in your French doors, it is wise to tape them up in case of breakage.
Warning
Wear safety goggles if knocking out framing.
Resources
Tips
- If you have large panes of glass in your French doors, it is wise to tape them up in case of breakage.
Warnings
- Wear safety goggles if knocking out framing.
Photo Credits
- cassar construction
- cassar construction
More Articles