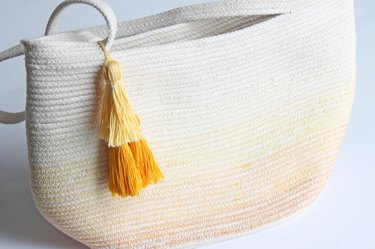
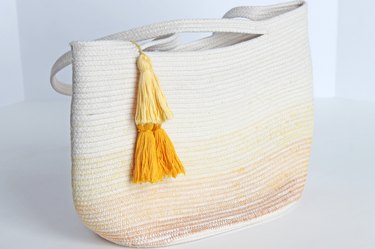
Let's face it, it's hard to resist a new tote bag, even if you already have a closet full of them. Besides, you might need the perfect one for that new outfit you've been wanting to wear. Well, did you know you can make a tote bag from rope? Yep, it's true. All you need to create this modern bag is clothesline and thread. And even if your sewing experience amounts to stitching nothing but straight lines, you can still get to work! As a finishing touch, add a few trendy tassels and you've got the perfect new bag.
Video of the Day
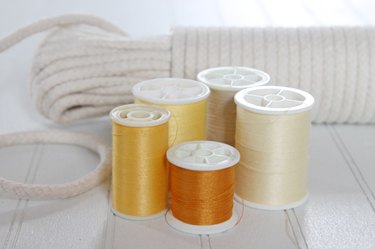
Things You'll Need
200 feet of 1/4-inch cotton clothesline
5 spools of thread in desired colors
100/16 sewing machine needle
Measuring tape
Pins
Scissors
6 skeins of embroidery thread for tassels (optional)
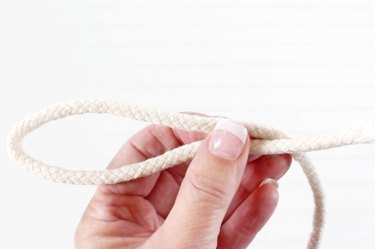
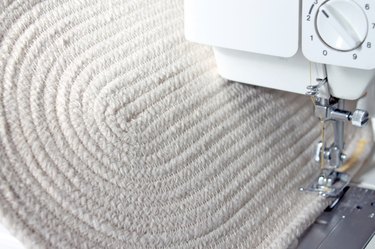
Step 1: Create the Base of the Tote Bag
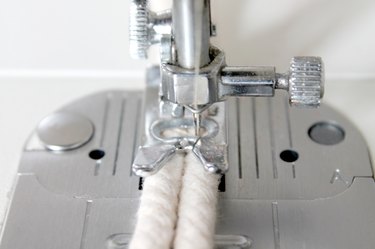
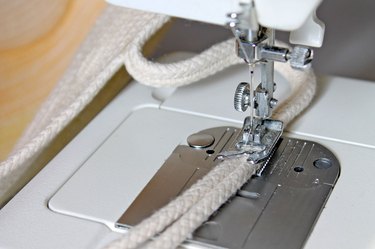
Measure 12 inches from the end of the rope and fold it in half. Start to sew at the fold with a zigzag stitch so you are catching both ropes in each stitch.
Video of the Day
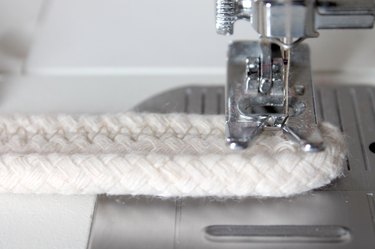
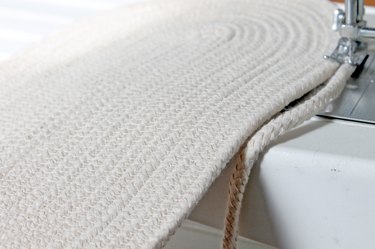
When you reach the end, leave the needle down in the rope and slowly turn the strip so that you are catching the curved edge as you sew. Keep rotating and sewing down the strip to create an oval, which will become the base of your bag. Stop when you've sewn 20 rounds.
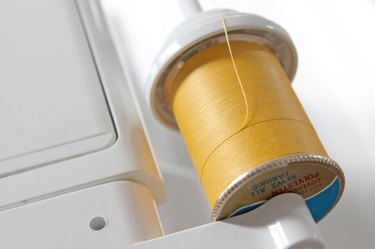
Step 2: Change the Thread
Before you start to make the sides of your tote, change the thread in your machine to a color of your preference.
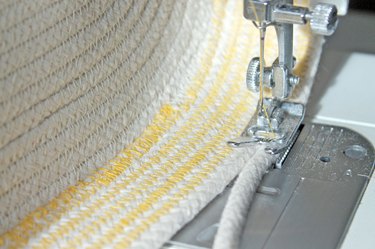
Step 3: Create the Sides of the Tote
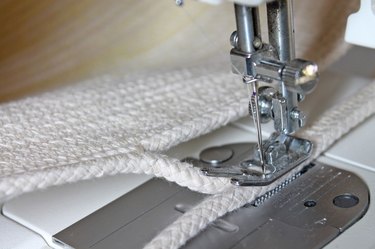
Start with a few zigzag stitches, then tilt the base of the bag at a right angle. Attach your rope at a deep angle. Keep the bottom of the bag at a 90-degree angle as you continue to sew. To create the ombre effect, change your thread color after sewing 7 or 8 rope coils.
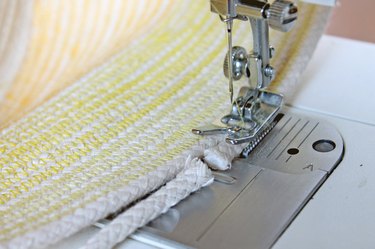
Step 4: Add More Rope
When you get to the end of your rope, place the beginning of another rope against the end of the first rope and continue to sew. Stitch a few forward and backward stitches to reinforce the seam.
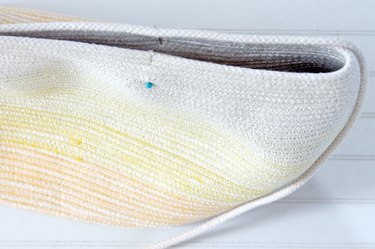
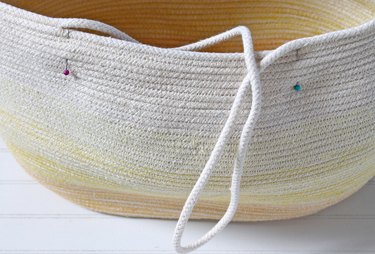
Step 5: Create the Handles
When your bag is your desired height, stop sewing at the curved section, but keep the rope attached. Pinch the bag in half and measure in about 4 inches from each side. Mark with 4 pins. This is where your handles will start and end.
Continue sewing around until you get to the pin. Stitch a few forward and backward stitches to reinforce the handle. Stop sewing, remove the bag from the machine and measure 27 inches of rope. Reattach the rope at the next pin and start the zigzag stitch again. Repeat this on the other side of the bag, measuring the same amount of rope for the handle.
When you've sewn all the way around the bag and you're back to the first handle, continue sewing along the handle. Repeat the steps until the handles are 3 rows thick. After sewing the last row on the last handle, sew a few more inches along the top of the bag, trim the rope and sew a few forward and backward stitches to hold the end in place.
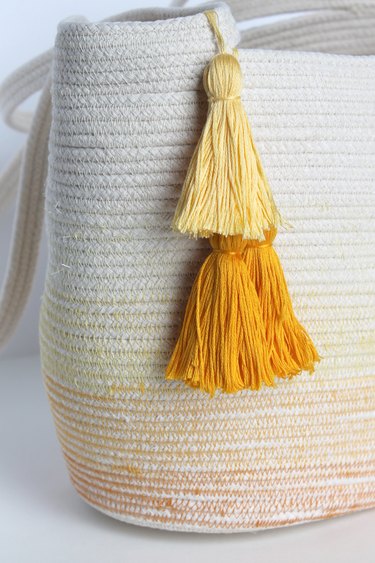
Step 6: Create the Tassels
To give your bag some personality, add some tassels made from embroidery thread in a hue that matches the tote's ombre effect.
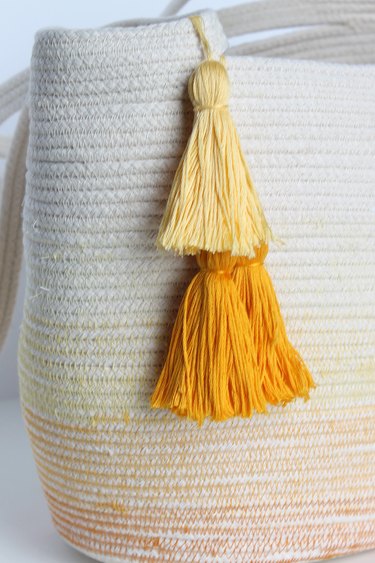
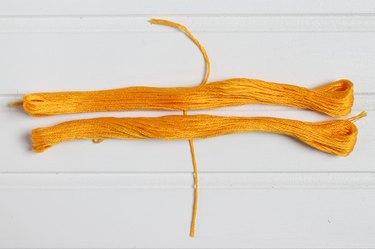
Place a 7-inch piece of thread under the exact center of two full skeins of embroidery thread and tie it in a double knot.
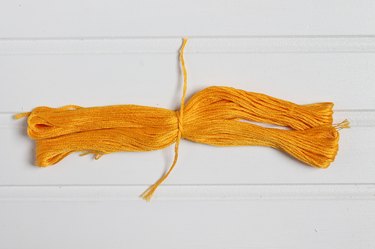
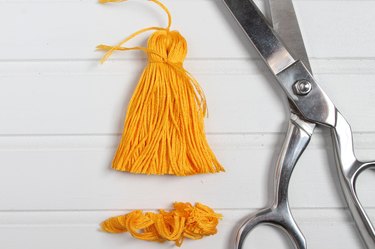
Fold the skeins in half so the double knot is at the top. Wrap and tie another piece 7-inch thread around the top to create the head of the tassel. Give your tassel a haircut and trim the ends. Then, attach the tassel to the bag.

Step 7: Fill Your Tote
Now that your tote bag is complete, take it with you on weekend adventures.