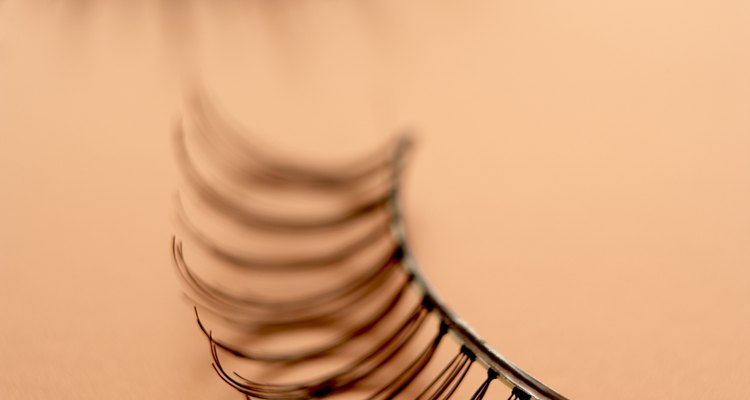
High-quality false eyelashes can be expensive, so it pays to reuse them. Some artificial lashes come with adhesive already applied, but reusable ones require eyelash glue. Removing the glue from the strip where the lashes attach requires a delicate touch to prevent tearing and twisting. To get your false lashes clean enough to wear again, you must remove the strip of solidified glue from the back of the lash and leftover makeup from the front.
Step 1
Hold the false eyelash with the thumb and forefinger of your non-dominant hand so the top band points up. Hold a pair of tweezers in your dominant hand.
Step 2
Grasp the dried glue on the back center of the lash band with the tweezers, then pull gently to remove it. If you don't remove the entire strip of glue at once, pluck it off in bits while holding the lashes just beneath the part of the band you're working on.
Step 3
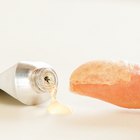
Lay the lash on a paper towel with the back side up. Dip a cotton swab in eyelash glue solvent and wipe the back of the lash to remove any remaining glue.
Step 4
Turn the lash right-side up and wipe the front of the lash band with solvent to remove glue and makeup.
Step 5
Store the lashes in their original case or in a small box until you are ready to wear them again.
Related Articles

How to Unclump Eyelashes

How to Glue a Leather Shoe Strap

How to Get Clumps Out of Eyelashes
How to Make a Watch Band Smaller
How to Remove Links From a Strech Band ...
How to Fix Holes in Pantyhose
How to Keep False Eyelashes From Lifting
How to Trim the Length of False Lashes
How to Shorten the Band of a Fossil ...

How to Take Off Fake Eyelashes Without ...

How to Curl Eyelashes Without Pinching ...
How to Remove Adhesive From Skin
How to Convert the Jenny Lind Crib Into ...

How to Clean an Electric Self Shaver
How to Hold a Band on a Cowboy Hat
How to Stop Satin from Fraying
How to Trim Overly Long Eyebrow Hairs ...
How to Wipe Off Lip Stain

How to Replace a Broken Underwire
How to Wear a Toupee
References
Warnings
- Do not use makeup remover that contains oil to clean false lashes, as it can leave residue behind.
Writer Bio
S.R. Becker is a certified yoga teacher based in Queens, N.Y. She has a Master of Fine Arts in creative writing and has worked as a writer and editor for more than 15 years. Becker often writes for "Yoga in Astoria," a newsletter about studios throughout New York City.
Photo Credits
BananaStock/BananaStock/Getty Images