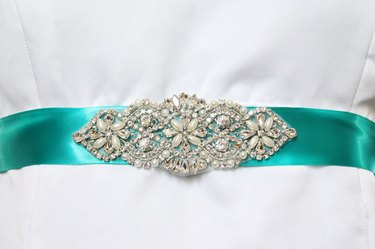
From traditional to bohemian, floor-length to tea-length, A-line to ball gown, the dress a bride chooses for her wedding day is an important personal reflection of her unique style. A stunning bridal sash with a signature applique full of shimmering rhinestones, pearls and glass beads adds a bit of glamour to any wedding dress. It can also serve as "something blue" to give the bride a bit of luck.
Things You'll Need
Video of the Day
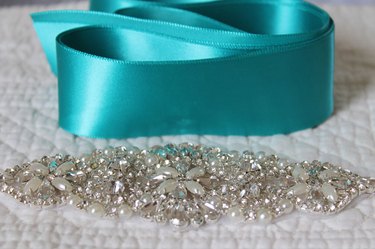
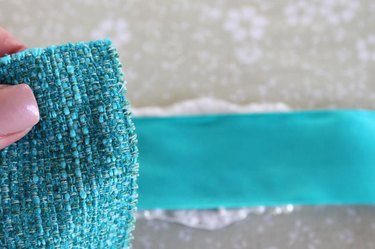
- 1 1/2-inch satin ribbon, 2 yards
- Beaded applique
- Iron-on adhesive paper
- Scissors
- Washable marking pen
- Iron and ironing board
- Pressing cloth
- Needle and coordinating thread (optional)
Video of the Day
Step 1
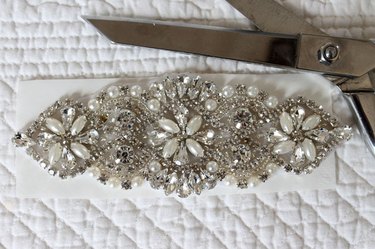
Cut a piece of iron-on adhesive paper that is the same width and length of the applique you have chosen to use.
Step 2
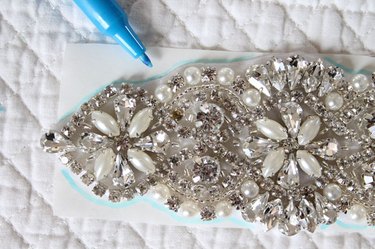
Place the applique on top of the iron-on adhesive paper and trace around the applique with a washable marking pen.
Step 3
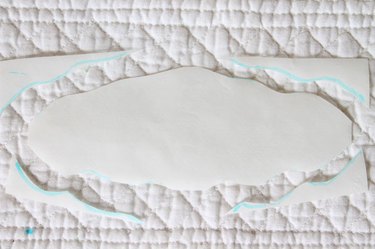
Use paper scissors to cut just inside of the traced lines on the iron-on adhesive paper.
Step 4
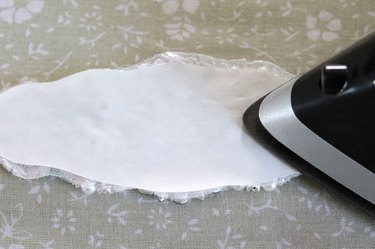
Set the iron to a medium heat with no steam. Place the iron-on adhesive paper on the wrong side of the beaded applique with the shiny side down. Press on the paper side of the adhesive paper with the iron until it adheres to the applique. This should only take a few seconds.
Step 5
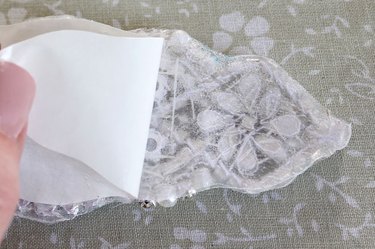
Peel the paper from the back of the iron-on adhesive. The back of the applique will now be sticky and ready to adhere to the ribbon.
Step 6
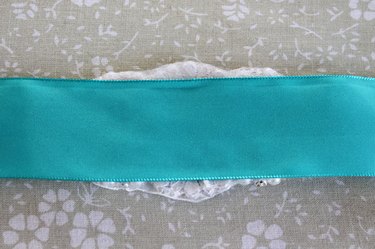
Place the applique beaded side down on the ironing board. Center the right side of the ribbon onto the wrong (sticky) side of the applique.
Step 7
Before adhering the applique to the ribbon, find a piece of scrap fabric or a towel to use for a pressing cloth. A pressing cloth will prevent direct contact between the ribbon and the iron to protect against scorching and also from getting adhesive on your iron.
Step 8
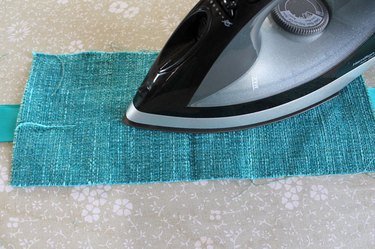
Place the pressing cloth on top of the ribbon and applique. Using an iron with a medium heat and no steam, press down gently on top of the pressing cloth until the applique is completely attached to the ribbon. This should only take a few seconds.
Step 9
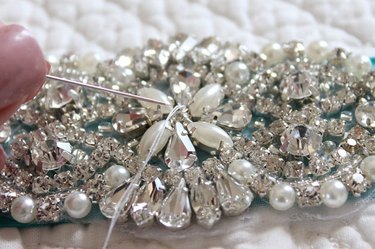
Add a few hand stitches to the center and ends of the applique to make sure the applique stays adhered to the ribbon. Be sure to pull gently on the threads so the stitches don't create any bunching on the ribbon.
Step 10

Wrap the ribbon around the bride's waist and tie a beautiful bow in the back.
Finished Bridal Sash
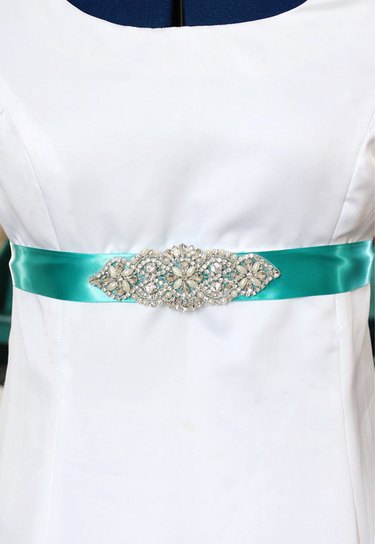
No matter whether the bride chooses to wear a simple silk gown or a lacy ornate one, this bridal sash will add a fashionable touch of color and sparkle to her look.