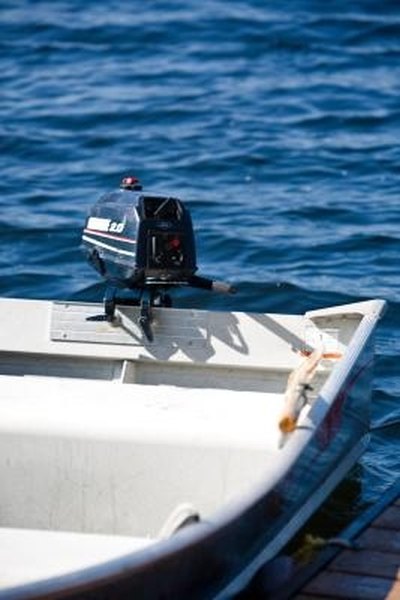


The lower unit is the part of the motor lower than the exhaust housing. It holds the drive shaft, the propeller shaft, the water pump and the gears. The lower unit on Mercury outboards must be removed to change the water pump's impeller. Replacing the lower unit is part of replacing your water pump's impeller, exchanging a drive shaft of one length for another length or replacing the oil seals on drive or propeller shafts.
Items you will need
Utility knife
Workbench with vise
Screwdriver
Gear case lubricant
New gaskets (vent and drain plugs)
Mercury Marine 2-4-C grease
Silicone sealer
Torque wrench
Remove old gasket material remaining in the vent and fill recesses with a utility knife. Use the point of the knife's blade to remove gasket material from screw holes and screws. When you've removed the old gasket material, set the lower unit upright in a vise on your workbench.
Remove the drain plug from the bottom of the lower unit and the vent plug just below the top of the starboard side of the unit with a screwdriver. Squeeze gear case lubricant into the vent plug until it comes out of the vent plug.
Replace gaskets on the vent and drain plugs, replace and tighten the vent plug, remove the tube of lubricant from the drain plug and replace and tighten the drain plug.
Place the gear case into the forward gear position. Tilt the motor up and swing the exhaust housing outward until you can engage the tilt lock. Move the guide block anchor pin, just below the powerhead, to the forward position as well.
Apply Mercury's 2-4-C grease to the splines of the drive shaft and the gear shift shaft coupler without getting any on the shafts themselves. Apply silicone sealer to the top surface of the divider block, which is right behind the water pump. Lift the lower unit from the vise, move it to the rest of the motor, align it with the exhaust housing, drive shaft shift shaft and water tube seal. Push it straight up into place.
Hold the lower unit in place. Set washers over the three lower unit studs that are now protruding through the mounting holes at the top of the sides of the lower unit. Thread a lock nut onto each, as far as you can by hand. Thread the rear bolt downward through the recess at the back of the lower unit.
Alternately torque the two side lock nuts to 50 pound-feet. Verify that the motor shifts into forward by trying to spin the prop (it shouldn't).Verify that the gear case will shift into neutral by shifting the motor into neutral and spinning the prop (it should spin).
Shift the motor to reverse and rotate the motor's flywheel counterclockwise to ensure the motor will go into reverse (the propeller should move as it does when in reverse). Thread the washers and two nuts on the studs in the recess in the anti-cavitation plate and torque to 50 pound-feet.
Set the flat washer on the forward stud of the lower unit, which is at the forward edge of the drive shaft housing, and thread the nut onto the stud, torquing the nut to 50 pound-feet. Tighten the gear case retaining bolt in the recess in the anti-cavitation plate. Install the trim tab and the plastic cap that covers the trim tab bolt opening.
Warnings
- After the motor is raised, disconnect the battery cable from the negative post of the battery by removing the nut from the battery post and lifting the cable from the post.
Tips
- Inspect the lower unit for gear oil leaks before you reinstall it.
- When installing the lower unit, turn the propeller in the direction in which it normally rotates to align the crankshaft-to-drive-shaft splines.
References
- Seloc: Mercury Mariner Outboards 2001-2009 2-Stroke 2.5-275HP 1990-2000 Repair Manual , 135-200 HP (2.5L) V6 Models
Tips
- Inspect the lower unit for gear oil leaks before you reinstall it.
- When installing the lower unit, turn the propeller in the direction in which it normally rotates to align the crankshaft-to-drive-shaft splines.
Warnings
- After the motor is raised, disconnect the battery cable from the negative post of the battery by removing the nut from the battery post and lifting the cable from the post.
Writer Bio
Will Charpentier is a writer who specializes in boating and maritime subjects. A retired ship captain, Charpentier holds a doctorate in applied ocean science and engineering. He is also a certified marine technician and the author of a popular text on writing local history.