A Serial Advanced Technology Attachment (SATA) cable connects an internal hard disk drive to a motherboard and power supply. The Universal Serial Bus (USB) provides for peripheral and external connections such as mice, keyboards or storage devices. Attaching a hard drive to a USB converter allows you to make your own SATA-to-USB connector. Converting a SATA hard drive to USB permits the external connection of a hard drive to any computer supporting USB 2.0.
Step 1
Install any software included with the converter before attaching the device to your computer. Put on an antistatic wrist strap to protect the SATA hard disk from electrostatic discharge.
Video of the Day
Step 2
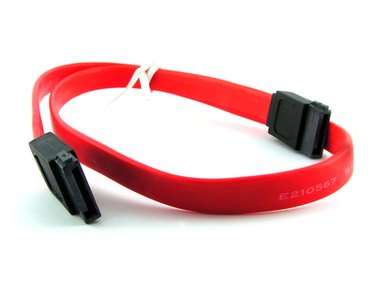
Find the seven-pin slot located on the converter. Insert one end of the SATA data cable into the slot.
Step 3
Remove the SATA hard disk from its antistatic bag. Insert the other end of the seven-pin SATA data cable into the SATA device.
Step 4
Plug the 15-pin SATA power cable attached to the alternating current (AC) adapter into the 15-pin slot located next to the hard drive's data cable.
Step 5
Connect the the USB cable from the converter to the USB port on the laptop or desktop computer.
Step 6
Plug the three-slot connector at the end of the power cord into the AC adapter's three-prong connector. Plug the power cord into an outlet to power the SATA-to-USB connector.
Video of the Day