Things You'll Need
Tape measure
Chalkline
Circular saw
Caulking gun
Construction adhesive (tube)
Hammer
2-by-4 wood block (optional)
Electric screwdriver
3/4-inch T&G plywood
2-inch decking screws
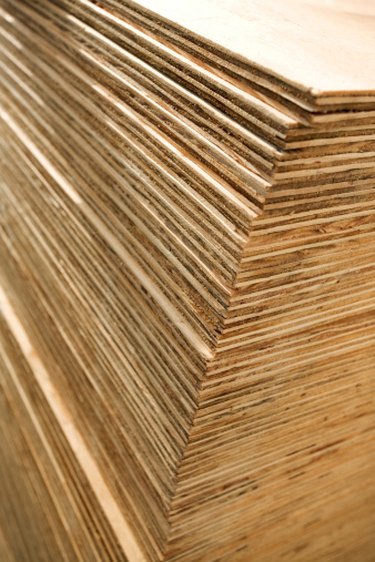
In construction, builders apply plywood underlayment to the floor framing of a house as the surface for the subfloor. This plywood underlayment provides the base platform for the flooring finish material. Typically, you use 3/4-inch plywood, which has a tongue-and-groove, referred to as "T&G," interlocking edge. The plywood panels are laid perpendicular to the floor joists for maximum support. The installation is a simple procedure that insures a sound floor structure.
Step 1
Measure both ends of the floor, perpendicular to the floor joists, and make a mark at 48 1/2 inches from the beginning edge. Connect the marked points using a chalkline to establish the guideline for the first row of plywood underlayment panels.
Video of the Day
Step 2
Apply a continuous 1/2-inch line of construction adhesive to the top surface of each of the first seven floor joists, including the outer rim joist. Run the adhesive from the starting edge of the floor to the chalked guideline on each joist.
Step 3
Lay a sheet of underlayment plywood perpendicular across the joists, with the sanded face upward and the groove-edge of the panel flush with the chalked guideline. Make certain the end of the plywood panel is positioned at the middle of floor joist and secure the panel in place using decking screws approximately 12 inches apart and within 3 inches of the edge at each joist.
Step 4
Repeat Steps 2 and 3 to install the first full row of plywood panels across the floor joists. Each end joint between panels must meet on a joist, with the end panel cut to length as needed.
Step 5
Offset the starting panel of the next row. Measure the dimension from the outside face of the rim joist to the midpoint of the joist nearest to a half panel, or 48 inches. Then cut the panel of plywood underlayment to this dimension as the starter piece for the next row. This method of offsetting the panel end joints by a minimum of 32 to 48 inches should be used for each alternating row of plywood underlayment over the entire floor area.
Step 6
Apply a continuous 1/2 inch line of construction adhesive to the top surface of each of the floor joists to the joist where the partial plywood sheet will end, including the outer rim joist.
Step 7
Install the partial panel of plywood underlayment cut in Step 5 as the first piece in the next row of panels. Tap the tongue and groove joint tightly together using a hammer and block of wood. Secure the panel in place using decking screws approximately 12 inches apart and within 3 inches of the edge at each joist.
Step 8
Repeat Steps 2 and 3 to complete the next row of plywood underlayment panels. Trim excess plywood at the finishing end flush with the outside of the rim joist.
Step 9
Continue to repeat the installation procedure in Step 2 and 3 for all remaining rows of plywood underlayment. Keep all of the tongue and groove joints tight and offset the end joints in alternating rows by a minimum of 32 to 48 inches.
Warning
Take care not to damage the tongue or grooved edges to insure a proper fit with the adjacent row of plywood panels.
Video of the Day