Installing Square D single pole ground fault circuit breakers is a common upgrade made to Square D breaker panels. Ground fault breakers are easy to install and protect people against ground fault currents that standard circuit breakers neither detect or protect against. Square D breakers come in two types, plug-in (QO) and bolt-on (QOB). Plug-in breakers snap in place on the panel's Buss bars while the bolt-on breakers fasten down to the Buss bar with screws. The Square D panels used in most residential wiring systems use the plug-in type.
Step 1
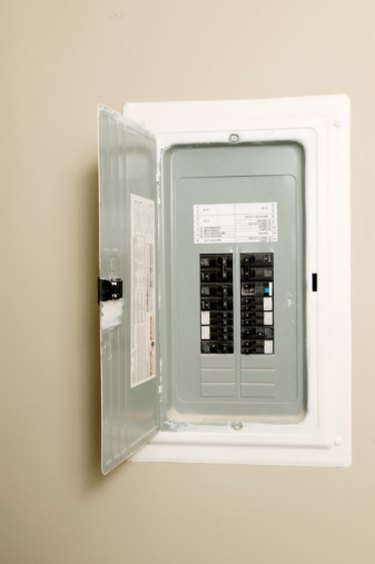
Position a work light to shine on the breaker panel. All the lights will go out as soon as you turn off the main breaker, located either at the top or bottom of the panel.
Video of the Day
Step 2
Remove the panel's door and outer cover with a screwdriver. Remove the cover over the circuit breaker. Use caution when removing this cover because the main panel terminals (lugs) are still energized even with the main breaker in the off position. Put those screws in a safe place.
Step 3
Replace the standard circuit breakers with the GFCI breakers one at a time, if this is a panel upgrade. Otherwise install all the new breakers in the empty panel box.
Step 4
Disconnect the hot wire from the old breaker and the corresponding neutral, white wire from the panel's neutral bar if this is a panel upgrade. Connect the branch circuit neutral wire to the silver color screw on the GFCI breaker and the branch circuit hot wire to the brass color screw on the breaker. The circuit hot wire will usually be red or black.
Step 5
Cut off the excess white wire as needed to make a neat connection. Remove ¾ of an inch of insulation from the end of the wire with wire strippers. Slip the stripped end under the terminal screw and tighten the screw. Check to be sure that none of the wire's insulation is under the screw.
Step 6
Uncoil the white, pigtail wire on the GFCI breaker and run the wire down to the panel's neutral bar. Shorten the pigtail wire and re-strip its end if necessary to make a neat installation. Connect the wire to the neutral bar. Insert the wire in an empty hole, in the neutral bar, and tighten the screw down on the wire. Only one wire per hole is permitted by the National Electrical Code.
Step 7
Replace the panel covers, turn on the main circuit breaker and then turn on each of the branch circuit breakers one at a time.
Video of the Day